
Top 8 Mistakes Interior Painters Warn Against in DIY Projects
Table of Contents
Key Takeaways
✔ Properly preparing surfaces ensures paint adheres well and lasts longer.
✔ High-quality paint and materials lead to a more professional and durable finish.
✔ Using primer prevents stains and ensures the topcoat adheres correctly.
✔ Testing and selecting the right color can prevent costly and unsightly mistakes.
✔ Applying the right amount of paint avoids drips and ensures even coverage.
✔ Good lighting is essential for accurate color perception and thorough coverage.
✔ Using painter’s tape helps achieve clean, sharp lines and prevents paint bleed.
✔ Thorough cleanup and proper maintenance extend the life of tools and keep painted surfaces looking fresh.
In 2020, interior painting topped the list of home improvement projects in the United States, with approximately 35% of homeowners taking on the task of painting their indoor walls. While DIY painting can be a fulfilling endeavor, interior painters warn that common pitfalls can hinder your results. Professional interior painters in West Hartford, CT, emphasize the importance of avoiding these mistakes to achieve a flawless finish.
8 Common Mistakes Interior Painters Advise Against in DIY Projects
According to a recent survey, 4 out of 5 people attempting DIY projects make errors, and 45% of DIYers admit to completely botching a project. To help you avoid common pitfalls, here are eight mistakes interior painters advise against in DIY projects.
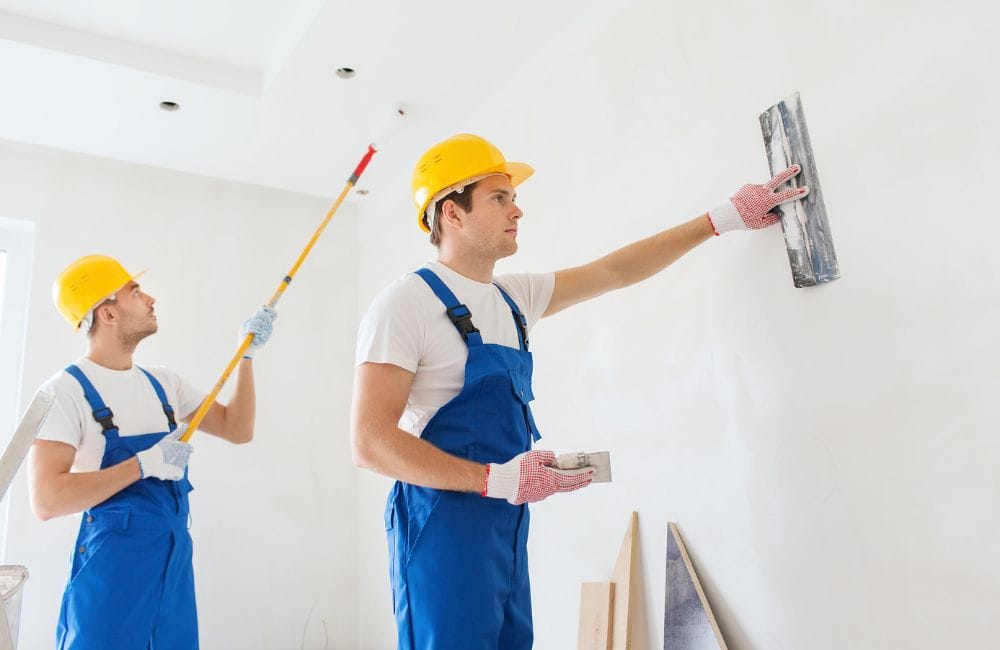
1. Inadequate Surface Preparation
Surface preparation ensures the paint adheres properly and results in a smooth, durable finish. Interior painters emphasize that this step involves cleaning, sanding, and priming the walls to create an ideal painting surface. Proper surface preparation addresses imperfections, removes debris, and provides a uniform base for the paint.
Consequences of Skipping This Step
Skipping surface preparation can lead to a variety of issues that affect the overall quality and longevity of your paint job. Here are some common problems that arise from inadequate surface preparation:
- Poor Adhesion: Without proper preparation, paint may not adhere well, leading to peeling and flaking.
- Uneven Texture: Dirt, dust, and old paint can create an uneven surface, resulting in a rough and unprofessional finish.
- Stains and Marks: Existing stains or marks on the wall can bleed through the new paint, affecting the final appearance.
- Reduced Durability: Paint applied on an unprepared surface is more likely to wear out quickly, leading to frequent touch-ups or repainting.
Steps for Proper Surface Preparation
Interior painters recommend following these essential steps to ensure your surface is well-prepared for painting:
- Dust and Dirt Removal: Use a damp cloth or sponge to wipe down the walls, removing dust, dirt, and cobwebs.
- Grease and Grime Removal: For kitchens and bathrooms, use a mild detergent or a degreaser to eliminate grease and grime.
- Smooth Rough Areas: Sand down any rough spots, flaking paint, or bumps on the wall to create a smooth surface.
- Feather Edges: Sand the edges of any existing paint to create a seamless transition between old and new paint layers.
- Apply Evenly: Apply a coat of primer evenly across the surface to seal it and provide a good base for the topcoat.
- Allow Proper Drying Time: Follow the manufacturer’s instructions for drying time before applying the paint.
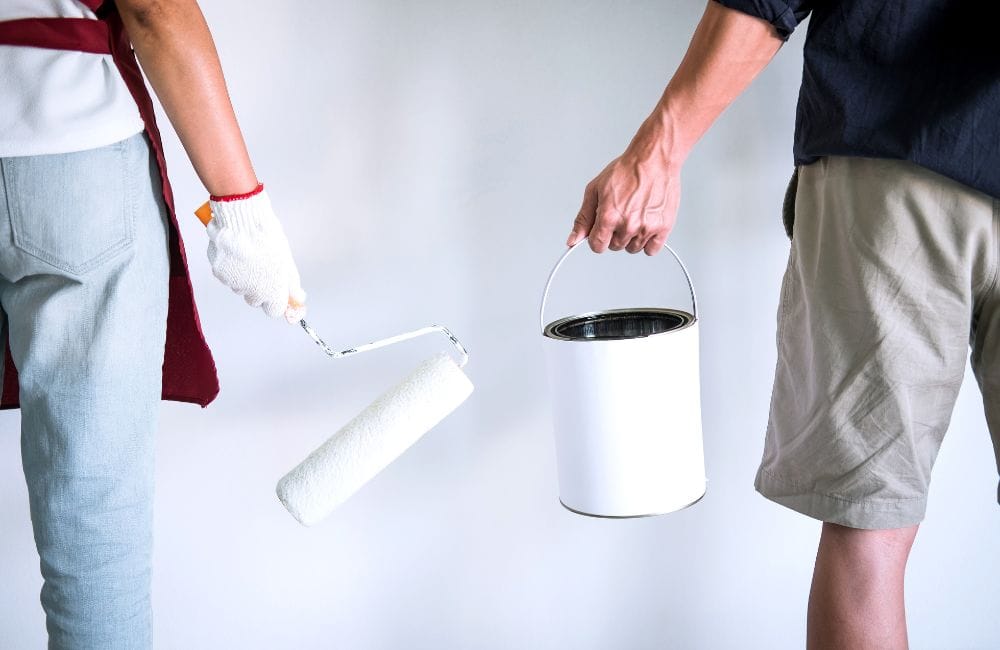
2. Using Low-Quality Paint and Materials
When it comes to interior painting, the choice of paint significantly influences the final result. Interior painters emphasize the importance of using high-quality paint for several reasons:
- Coverage and Pigmentation: High-quality paints have better pigmentation, meaning they cover surfaces more effectively with fewer coats. This results in a more uniform finish and less paint usage.
- Durability and Longevity: Superior paints contain higher-grade resins, which make them more resistant to chipping, fading, and peeling. This durability is particularly important in high-traffic areas.
- Ease of Application: High-quality paints flow more smoothly and evenly, making the application process easier and more efficient. This reduces the likelihood of streaks, brush marks, and other imperfections.
- Environmental and Health Impact: Many premium paints have lower levels of volatile organic compounds (VOCs), making them safer for indoor use and better for the environment.
Impact on the Final Result and Durability
Using low-quality paint can lead to a variety of problems that interior painters often see in DIY projects:
- Uneven Coverage: Low-quality paint often requires multiple coats to achieve even coverage, which can result in an inconsistent appearance and increased labor.
- Shortened Lifespan: Paints of inferior quality tend to deteriorate faster, leading to issues such as fading, cracking, and peeling within a short period.
- Higher Maintenance: Poor-quality paints may not withstand cleaning and scrubbing well, causing the paint to wear off or get damaged easily. This can result in frequent touch-ups or repaints.
- Increased Costs: While low-quality paints may be cheaper initially, their lack of coverage and durability can lead to higher costs in the long run due to additional paint needed and more frequent repaints.
3. Ignoring the Importance of Primer
When embarking on a DIY painting project, one critical step that is often overlooked by many is the use of primer. As per interior painters, primer ensures a high-quality, long-lasting finish.
Problems Caused by Not Using Primer
Neglecting to use primer can lead to several issues that interior painters frequently encounter:
- Poor Adhesion: Without primer, paint is more likely to peel, chip, or flake, especially on surfaces that are glossy or have been previously painted.
- Uneven Finish: The absence of primer can result in an uneven finish, with visible brush strokes or roller marks. This is because the paint may absorb unevenly into the surface.
- Color Bleed-Through: Stains and previous colors can bleed through the new paint, compromising the appearance and requiring additional coats to cover.
Choosing and Applying Primer
Achieving a flawless paint finish starts with proper preparation. Two crucial steps in this process are selecting the right primer and applying it correctly. Here’s a quick guide from interior painters to help you get the best results from your painting project.
Choosing the right primer:
- Surface-Specific Primers: Match the primer to the surface, like drywall primer for new drywall or stain-blocking primer for stained areas.
- Tinted Primer: Use a tinted primer for deep or vibrant colors to improve coverage and reduce paint coats.
- All-in-One Options: Some paints include primer, but they may not be suitable for all surfaces; consult a professional if unsure.
Applying the primer:
- Surface Preparation: Clean, dry, and remove dust or grease before applying primer.
- Proper Tools: Apply primer with a brush for edges and corners, and a roller for larger areas.
- Adequate Drying Time: Let the primer dry fully before applying the topcoat, following the manufacturer’s instructions for drying times
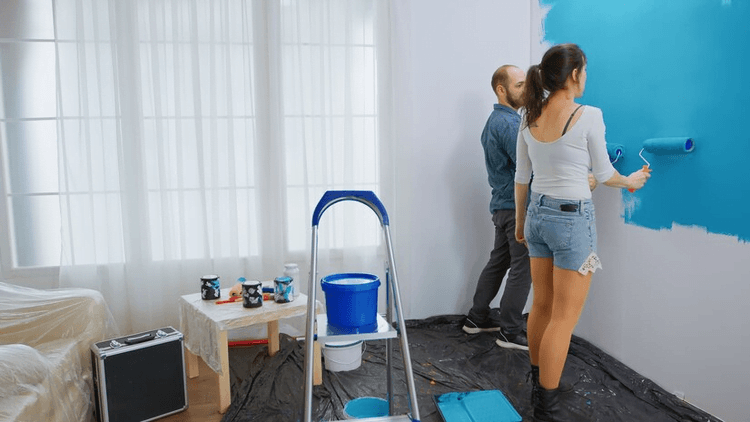
4. Incorrect Color Selection
Choosing the right color for your walls can make or break your DIY painting project Interior painters emphasize the importance of this process to ensure a satisfactory result. Here are some common pitfalls in choosing paint colors:
- Overlooking Room Lighting: Understanding how natural and artificial light affects color perception is crucial. Consider how the color looks at different times of day, as different bulbs (LED, incandescent) can change its appearance.
- Ignoring Existing Décor: Ensure the paint color matches or complements furniture, fixtures, flooring, and ceilings, and consider how it interacts with artwork, rugs, and other accents.
- Following Trends Blindly: Following trends blindly is risky because trends change quickly. Choose colors based on personal preference rather than what’s currently in style, and opt for timeless choices that won’t go out of fashion.
Advice on How to Choose the Right Color
Selecting the right color involves more than just picking your favorite shade. Interior painters suggest a thoughtful approach to ensure your choice enhances the room’s overall feel.
- Consider the Room’s Purpose: Select calming colors for bedrooms and energizing hues for living spaces to create the desired atmosphere, whether warm and cozy or bright and airy.
- Use Color Theory: Refer to the color wheel to understand complementary and analogous colors, ensuring a balanced and harmonious color scheme.
- Look Into Neutral Options: Neutral colors offer timeless versatility, providing a great backdrop for different styles while allowing for bold accents in small areas.
- Seek Professional Consultation: Provides expert advice, with some paint stores offering services from color specialists to help you make the best decision.
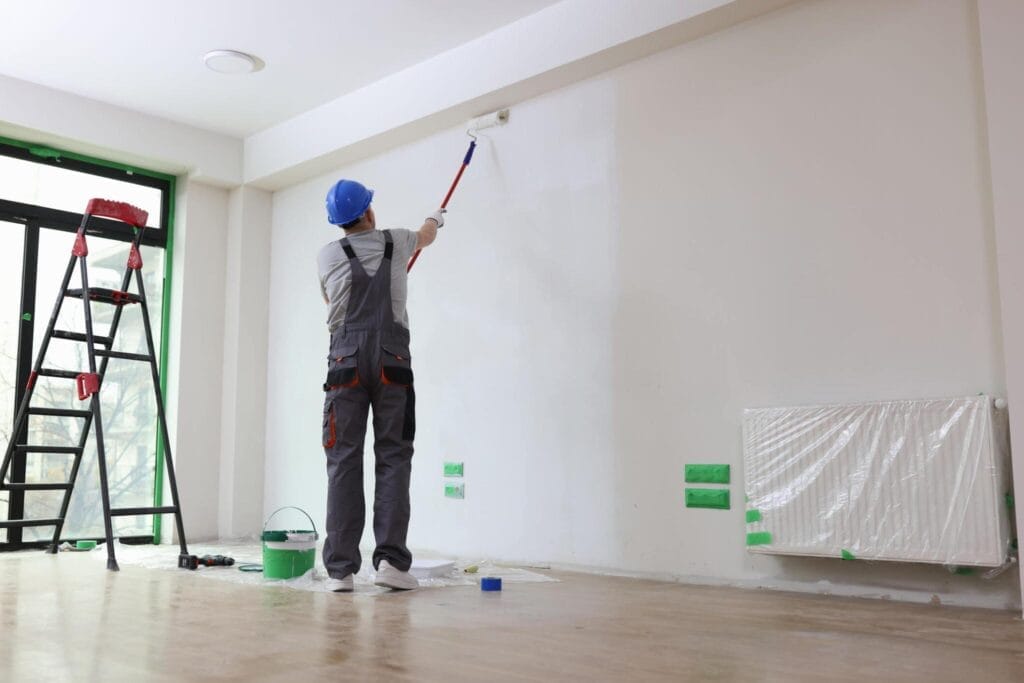
5. Overloading the Paintbrush or Roller
When it comes to achieving a professional finish in your DIY painting project, avoiding the mistake of overloading the paintbrush or roller is crucial. Interior painters always say to ensure proper paint loading techniques to ensure a smooth, even application.
Effects of Overloading on the Finish
Overloading a paintbrush or roller can significantly impact the final appearance of your walls. Interior painters warn that overloading leads to several undesirable effects:
- Drips and Runs: Excess paint on a brush or roller can cause drips and runs, creating an uneven and unprofessional finish.
- Streaks and Lap Marks: When too much paint is applied, it can lead to visible streaks and lap marks, especially noticeable after the paint dries.
- Longer Drying Times: Thick layers of paint take longer to dry, increasing the risk of smudging or imperfections if touched accidentally.
Proper Technique for Loading Paint
One of the first lessons interior painters teach is how to correctly load your paintbrush or roller. Here’s a step-by-step guide from interior painters:
- Dip and Tap Method for Brushes: Dip the brush into the paint, covering about one-third of the bristle length. Tap the brush lightly against the side of the can to remove excess paint, rather than wiping it off, which can reduce the amount of paint and affect application.
- Rolling with Rollers: Pour paint into a paint tray until the well is about halfway full. Roll the roller back and forth in the paint, ensuring even coverage. Roll off excess paint by rolling on the tray’s ridged section to distribute paint evenly across the roller.
6. Painting in Poor Lighting Conditions
Interior painters emphasize that adequate lighting not only helps you see what you’re doing but also ensures that the colors and coverage are applied accurately. Without proper lighting, you might end up with a result that looks different from what you intended.
How Poor Lighting Affects the Perception of Color and Coverage
Interior painters warn that poor lighting can drastically alter the appearance of your paint job. Here’s how:
- Color Perception: Inadequate lighting can make colors appear different from their true hue. Natural light and artificial light can change the way colors are perceived, and without proper lighting, you may end up with a color that looks different on the wall than it did on the paint chip.
- Coverage Issues: Poor lighting can cause you to miss spots or apply too much paint in some areas and too little in others. This can result in an uneven finish that looks unprofessional and may require additional coats to correct.
- Mistakes Visibility: Imperfections such as drips, roller marks, and uneven edges are harder to spot and correct in low light conditions. These mistakes can become glaringly obvious once the room is properly lit.
7. Skipping the Painter’s Tape
When it comes to DIY painting projects, many interior painters stress that using painter’s tape will help you achieve a professional-looking finish. Skipping this step can lead to a variety of issues that can detract from the overall appearance of your work.
Purpose of Painter’s Tape in Achieving Clean Lines
One of the primary reasons interior painters use painter’s tape is to ensure clean, sharp lines between different colors or areas. Painter’s tape acts as a barrier, preventing paint from bleeding onto adjacent surfaces. This is especially important for the following benefits:
- Crisp Edges: Ensures sharp lines and clean transitions between colors.
- Protects Surfaces: Shields areas that should not be painted, such as baseboards or window frames.
- Professional Finish: Provides a more polished and professional appearance to the final result.
Consequences of Not Using Tape
Many interior painters warn that neglecting to use painter’s tape can lead to several problems, impacting both the aesthetics and the efficiency of your painting project.
- Uneven Lines: Paint may bleed or seep into areas that were meant to remain unpainted, creating a messy look.
- Extra Cleanup: You may need to spend additional time correcting mistakes and cleaning up edges.
- Reduced Quality: The overall finish may appear less professional, diminishing the impact of your hard work.
8. Improper Cleanup and Maintenance
According to interior painters, cleanup and maintenance ensure not only the longevity of your tools but also the quality and durability of your painted surfaces. Interior painters say that thoroughly cleaning your tools after each use can significantly extend their lifespan and maintain their performance.
Mistakes in Cleaning Brushes and Rollers
Avoid these common mistakes to ensure your brushes and rollers remain in excellent condition for future projects.
- Not Cleaning Immediately: Failing to clean brushes right after use allows paint to dry on the bristles, making it extremely difficult to remove and potentially ruining the brush.
- Using the Wrong Cleaning Products: Using inappropriate cleaning products, like soap and water for oil-based paints or mineral spirits for water-based paints, can be ineffective and may even damage the brush. Ensure you use soap and water for water-based paints and mineral spirits or paint thinner for oil-based paints.
- Improper Rinsing: Not thoroughly rinsing brushes after cleaning leaves behind paint residues that can harden and affect the performance and lifespan of the brush.
- Leaving Brushes Soaking Too Long: Leaving brushes soaking in water or solvent for extended periods can weaken the glue that holds the bristles together and warp the handle, leading to bristle damage and a shortened brush life.
- Using Hot Water: Cleaning brushes with hot water can damage synthetic bristles by causing them to bend, soften, or break, reducing their effectiveness and lifespan.
- Not Reshaping Brushes After Cleaning: Failing to reshape brushes after cleaning can lead to bristles drying in awkward positions, resulting in misshapen brushes that don’t perform well when painting.
Frequently Asked Questions
How long should I wait between coats of paint?
It’s generally recommended to wait at least 2-4 hours between coats of paint, but this can vary depending on the paint type, room temperature, and humidity levels. Check the paint manufacturer’s instructions for specific drying times. Ensuring the first coat is completely dry before applying the second coat helps prevent peeling and uneven color.
Can I paint over wallpaper, or should it be removed first?
It’s generally recommended to remove wallpaper before painting to ensure a smooth, long-lasting finish. Painting over wallpaper can cause bubbles, peeling, and an uneven surface, especially if the wallpaper is textured or not well-adhered. If removal is not possible, prime the wallpaper with a high-quality primer and use a heavy-duty paint to cover it adequately.
How can I create an accent wall, and what are some popular color choices?
To create an accent wall, choose a wall that naturally draws attention, such as one behind a bed or a fireplace. Select a bold or contrasting color that complements the room’s overall color scheme and decor. Popular choices include deep blues, rich greens, vibrant yellows, or dramatic reds, which can add depth and visual interest to the space.
How many coats of paint do I need for a good finish?
Generally, two coats of paint are recommended for a good finish, as this ensures even coverage and a more vibrant color. The first coat provides a base, while the second coat fills in any missed spots and enhances the overall appearance. However, depending on the paint quality and the color change, additional coats may be necessary.
What is the difference between matte, eggshell, and satin finishes?
Matte finishes provide a non-reflective, velvety texture that helps hide surface imperfections but can be harder to clean. Eggshell finishes have a slight sheen, offering a balance between matte and satin, making them easier to clean while still hiding some imperfections. Satin finishes have a soft luster and are highly durable, making them suitable for high-traffic areas like kitchens and bathrooms.
Transform Your Space with Painting Experts!
At West Hartford House Painting Experts, we understand the challenges of DIY interior painting. Our team in West Hartford, CT, is here to ensure your project is flawless from start to finish. Avoid common pitfalls and achieve a stunning result by letting our skilled professionals handle the job. Located in the heart of West Hartford, CT, we are dedicated to bringing your vision to life with precision and care. Trust West Hartford House Painting Experts to transform your space into a masterpiece.