
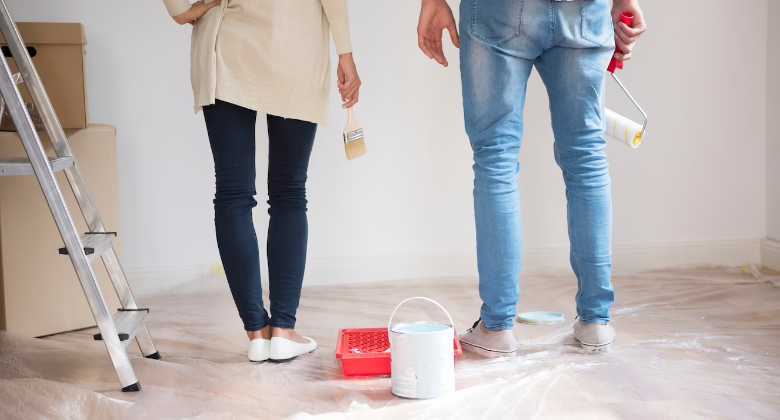
Giving your room a fresh coat of paint is an easy and affordable way to revamp its look and feel. But if you’re new to the DIY scene, painting a room can seem daunting. Where do you start? What tools and supplies do you need? And most importantly, how do you get a professional-looking finish?
In this article, we’ll guide you through the step-by-step process of painting a room like a pro. Whether a beginner or an experienced DIYer, you’ll find valuable tips and tricks to make your next painting project successful. And if you’re in the West Hartford area, we’ve got you covered with expert advice from local painting contractors. So, let’s get started!
The right paint can make all the difference in achieving a professional-looking finish. With so many options available, choosing the best paint for your project can be overwhelming. Here are some factors to consider when selecting paint:
Several types of paint are available on the market, including latex, oil-based, and specialty paints like primer and ceiling paint. Each type has advantages and disadvantages, so choosing the right one for your needs is essential.
Paint finishes can range from flat to high gloss. Each finish has its benefits, such as durability, ease of cleaning, and aesthetic appeal. Consider the function of the room when selecting the finish.
The color of the paint is a crucial factor in achieving the desired look and feel of the room. Take your time to choose a color that complements the existing decor and reflects your style.
When you’re ready to choose your paint, consider visiting a local paint store or consulting West Hartford painting contractors to help you make an informed decision. By selecting the right paint, you’ll be well on your way to achieving a professional-looking finish.
Now that you’ve prepared the room and chosen the right paint, it’s time to start painting. Follow these steps to achieve a flawless finish:
Before you start painting the walls, it’s important to prime them if necessary. Priming is an essential step that helps the paint adhere better to the wall and covers any existing stains or marks. It also helps to smooth the wall’s texture, making it easier to achieve a smooth finish.
To determine if your walls need to be primed, consider the condition of the surface. If the walls are new, have never been painted, or have been repaired or patched recently, they will likely benefit from a coat of primer. On the other hand, if the walls are in good condition and have been previously painted with a similar color, you may be able to skip this step.
Using a roller to prime the walls, apply the primer in even strokes. Use a high-quality primer appropriate for your walls’ surface, such as drywall or wood. Let the primer dry completely before painting, following the manufacturer’s instructions for drying time.
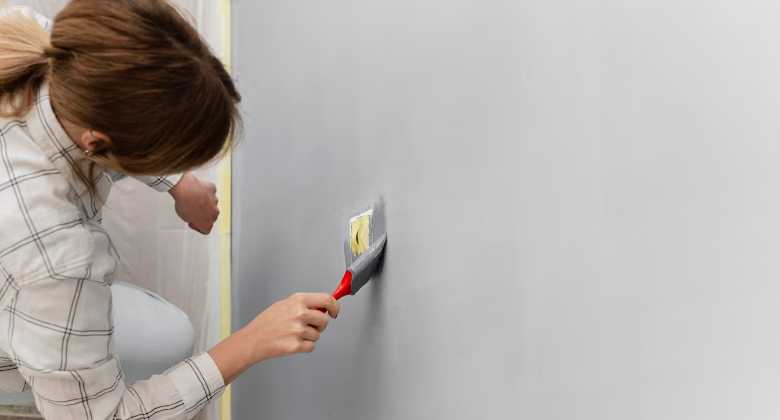
Start by loading your brush with paint and tapping off any excess. Then, carefully paint along the edges of the walls, avoiding getting paint on the trim or ceiling. Use a steady and controlled motion, and apply enough pressure on the brush to ensure even coverage.
When cutting in around windows, doors, or other obstacles, use a smaller or angled brush to get into tight spaces. Take your time with this step, and be sure to blend the paint into the larger areas of the walls for a seamless finish.
If you accidentally get paint on the trim or ceiling, use a damp cloth or sponge to wipe it off immediately. Don’t let the paint dry, as it will be more difficult to remove later. Cutting in can be time-consuming, but it’s well worth the effort for a professional-looking finish. By following these steps and tips, you can achieve a clean and precise edge around the walls.
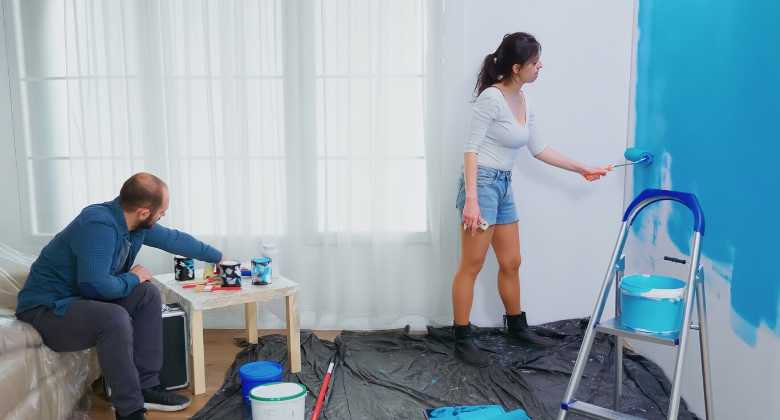
After cutting in around the room’s edges with a brush, it’s time to work on the larger areas of the walls. This is where the roller comes in handy. When using a roller, it’s essential to use the proper technique to achieve a smooth and even finish.
Start from the top of the wall and work your way down, using long strokes in one direction. Be sure to apply enough pressure on the roller to ensure the even distribution of the paint. Avoid overloading the roller with paint, which can lead to drips or streaks.
When using a roller, it’s also essential to maintain a wet edge. This means overlapping the previous stroke with the new one to avoid creating lines or marks on the wall. To achieve this, work in small sections and blend each section into the next.
If you’re using high-quality paint, you may achieve good coverage with just one coat. However, if the paint is thin or the color is bold, you may need to apply a second coat for optimal coverage.
Once the first coat of paint has dried completely, it’s time to apply the second coat. Applying a second coat is essential in achieving a polished and professional-looking finish. The second coat will help out any inconsistencies in the paint and give the room a more uniform appearance.
When applying the second coat, use the same technique as the first coat. Start from the top of the wall and work your way down, using long strokes in one direction. Use enough paint on the roller to avoid leaving streaks or dry spots. Depending on the color and quality of the paint, you may need to apply a third coat for optimal coverage.
Remember to allow the second coat to dry completely before removing any painter’s tape or touching any areas. Rushing the drying process can result in smudging or streaks, ruining the entire painting job.
After you’ve finished painting, cleaning up correctly is essential to ensure that your tools are in good condition for future use and to avoid any messes or accidents. Follow these steps to clean up like a pro:
Dispose of any remaining paint in the tray by pouring it back into the paint can. You can also use a paint can lid or plastic bag to remove excess paint from your roller or brush.
Clean your brushes and rollers using soap and water or the recommended solvent for your paint type. Work the soap or solvent into the bristles or nap off the roller using your hands or a brush comb. Rinse thoroughly and let them air dry.
Remove any painter’s tape from the walls and trim, being careful not to damage the surface. If the tape is stubborn, use a heat gun or hair dryer to soften the adhesive.
Dispose of any drop cloths or plastic sheeting used to protect your floors and furniture. Shake them out first to remove any excess paint or debris.
Wipe down any spills or drips with a damp cloth or sponge. If the paint has already dried, use a scraper or sandpaper to remove it.
Following these simple steps will make cleaning up after painting your room quick and easy. However, if you’re in the West Hartford area, you might consider hiring a professional painting contractor. West Hartford painting contractors offer a hassle-free painting experience and can handle all aspects of the painting process, including preparation and cleanup. With their expertise, you’ll have a beautifully painted room and no mess to clean up.
Painting a room may seem daunting, but with the right tools and techniques, it can be a fun and rewarding DIY project. Following the steps outlined in this guide, you can achieve a professional-looking finish for your room and save money on hiring a professional painter.
Remember to take your time and be patient throughout the process. Preparation is critical, so don’t skip the cleaning and priming steps. Use high-quality tools and paints for best results, and take breaks when needed to avoid getting overwhelmed.
Whether you choose to tackle the painting project yourself or hire a professional, a freshly painted room can make a massive difference in your home’s overall look and feel. And if you’re in the West Hartford area and looking for a hassle-free painting experience, consider hiring West Hartford House Painting Experts. Their team of experienced painting contractors can handle all aspects of the painting process, from preparation to clean up, leaving you with a beautifully painted room and no mess to clean up.