
If you’re a homeowner in West Hartford, CT, and you’re looking to refresh the look of your home, painting your popcorn ceiling is a great place to start. A fresh coat of paint can brighten up a room and create a more modern look. While painting a popcorn ceiling can seem daunting, it’s a project that can be tackled with the right tools and techniques. In this guide, we’ll take you through the steps to paint your popcorn ceiling like a pro, whether you’re a DIY enthusiast or hired a professional house painter in West Hartford, CT, to do the job for you. With our tips and tricks, you’ll be able to create a beautiful, updated ceiling that will enhance the look of your home.
When preparing to paint a popcorn ceiling, having the necessary tools and materials is essential. If you’re hiring a house painter in West Hartford, CT, they will typically come with all the equipment and supplies needed. However, if you’re doing the project yourself, you must gather the appropriate tools and materials.
Some of the tools you’ll need include:
You’ll also need to purchase the correct type of paint and primer for popcorn ceilings, which can be found at a local hardware store in West Hartford, CT.
Covering the floor and furniture with drop cloths is crucial to protect them from accidental paint spills or drips during the popcorn ceiling painting project. Drop cloths can be made of canvas, plastic, or paper and are readily available at local hardware stores in West Hartford, CT. Placing them in the area below the ceiling you will be painting will save you the trouble of cleaning up any accidental spills or splatters.
Cleaning the ceiling surface is also necessary to ensure that the paint adheres properly and creates a smooth finish. Any dust, dirt, or cobwebs on the ceiling should be removed with a soft-bristled brush, a broom, or a vacuum cleaner with a brush attachment. Make sure the surface is completely dry before painting.
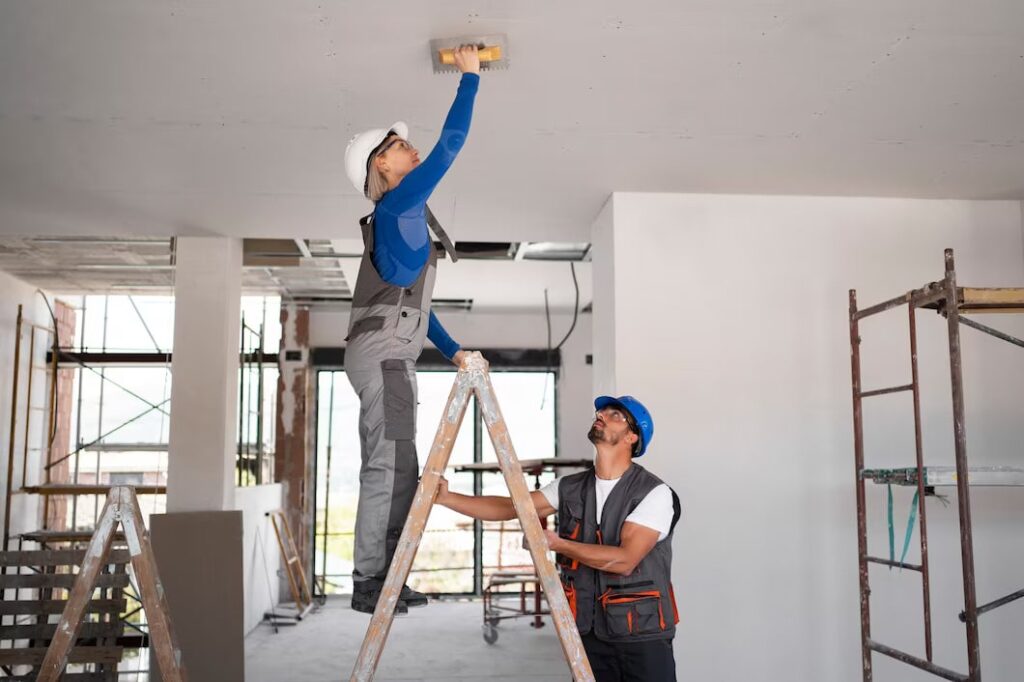
Repairing any cracks or holes in the ceiling before painting is also essential. These imperfections can cause the paint to appear uneven or bumpy, detracting from the overall appearance of the ceiling. To fix them, use a spackle and a putty knife to fill in the damaged area, smoothing it out as you go. Once the spackle has dried, sand the surface until smooth and even. This will provide a solid surface for the paint to adhere to and help ensure a professional finish.
Before painting your popcorn ceiling, it’s essential to apply a primer to create a smooth and even surface. If you’ve hired a house painter in West Hartford, CT, they will likely take care of this step for you. However, if you’re tackling the project yourself, you’ll need to ensure you have the suitable materials and follow the proper steps.
First, choose the appropriate primer for popcorn ceilings. A water-based primer is recommended to provide good adhesion and minimize the risk of the popcorn texture being removed during application. These primers are found at a local hardware store in West Hartford, CT.
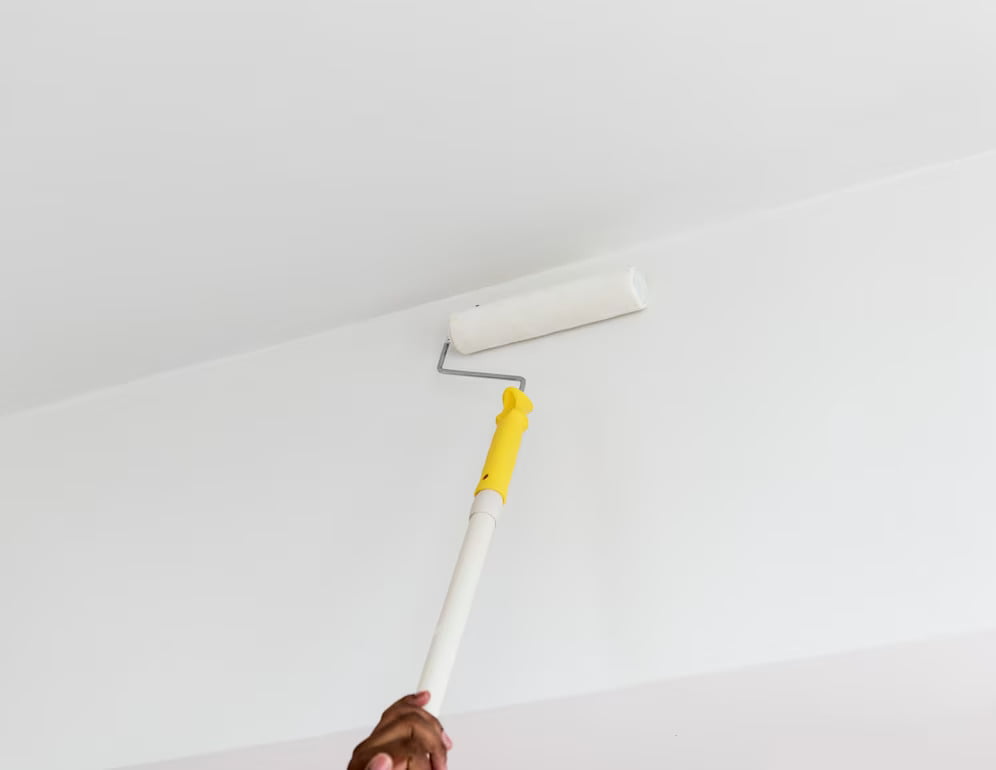
Once you have the primer, apply it evenly to the ceiling using a roller. Work in small sections, starting at one corner and systematically moving across the ceiling. Make sure the roller is evenly coated with the primer and rolled on in straight lines for a smooth finish. Be careful not to oversaturate the roller with primer, which can lead to drips or uneven coverage.
Allow the primer to dry completely before applying the paint. Depending on the humidity and temperature, this can take anywhere from 2 to 24 hours. Follow the manufacturer’s recommended drying time to ensure the best results.
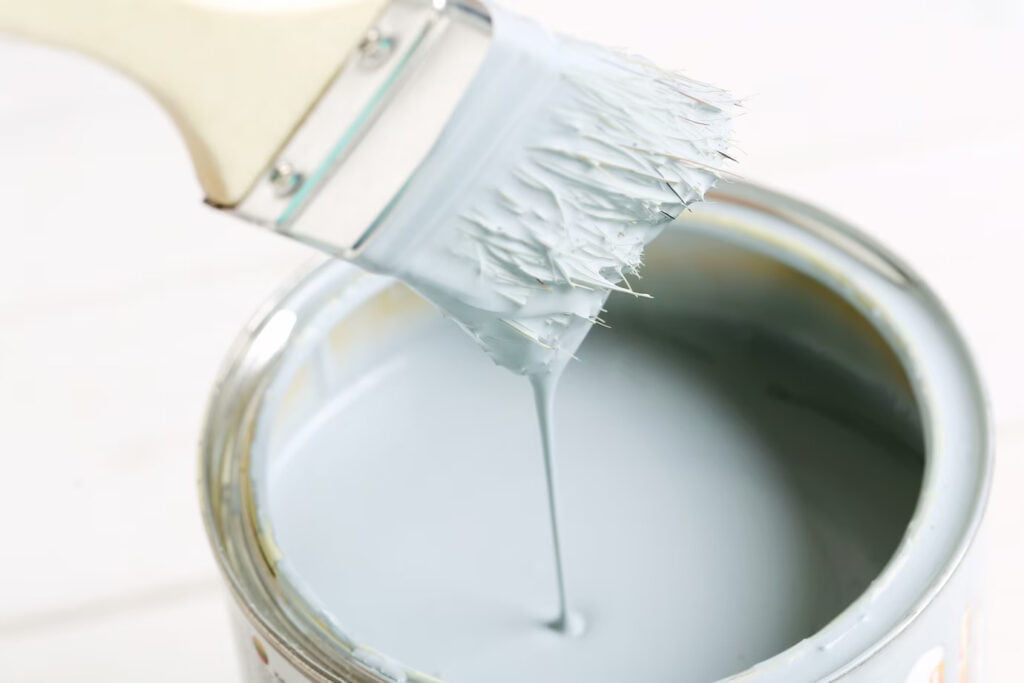
Choosing the appropriate paint for a popcorn ceiling is crucial for achieving a professional-looking finish. Look for a paint designed explicitly for popcorn ceilings and is water-based, as this type of paint dries quickly and is less likely to cause the texture to come off. These paints are found at a local West Hartford, CT, hardware store.
When applying the paint, a roller is the best tool for the job. Dip the roller in the paint and then use it to apply the paint to the ceiling in long strokes. Work in small sections to ensure even coverage and avoid missing any spots. Be sure to use a light touch and avoid pressing too hard on the roller, which can cause the popcorn texture to come off.
To achieve the best results, working in small sections and not rushing the process is essential. This will help ensure that the paint is applied evenly and that the finished product has no streaks or lines. It’s also a good idea to review each section with a second coat if necessary, especially if you’re using a lighter color or the original popcorn texture is still showing through.
When applying the second coat, make sure the first coat has completely dried. Follow the manufacturer’s recommended drying time, typically 2-4 hours. Apply the second coat in the same manner as the first, making sure to work in small sections and use a light touch with the roller.
Once you’ve finished painting your popcorn ceiling, it’s essential to properly clean up and dispose of any materials used during the project. If you’ve hired a house painter in West Hartford, CT, they will likely take care of this step for you. However, if you’re doing the project yourself, follow these tips to ensure a safe and clean environment.
Start by removing the drop cloths from the floor and furniture. Carefully fold them up to avoid any paint dripping onto the floor. If you notice any spilled paint or debris on the floor or furniture, clean it up immediately using a damp cloth or paper towel.
After removing the drop cloths, allow the paint to dry completely before removing any painter’s tape. This will prevent the paint from smudging or getting pulled off with the tape. Follow the manufacturer’s recommended drying time, which is typically 24 hours. Once the paint has dried, carefully remove any painter’s tape from the ceiling. Peel it back slowly and at an angle to avoid pulling off any paint. Dispose of the tape properly.
Finally, dispose of any used materials properly. Empty paint cans, brushes, and rollers should be cleaned and stored safely for future use. Unused paint should be disposed of according to local regulations in West Hartford, CT. This may include bringing it to a recycling center or hazardous waste facility.
Painting a popcorn ceiling can seem daunting, but with the right tools and techniques, it’s a project that anyone can tackle. Whether you’re a DIY enthusiast or have hired a professional house painter in West Hartford, CT, following the steps outlined in this guide will help you achieve a beautiful and professional-looking finish.
At West Hartford House Painting Experts, we understand the importance of a well-painted home. Our team of experienced house painters in West Hartford, CT, can help you tackle any painting project, big or small. From popcorn ceilings to exterior painting, we’re here to help make your home look its best. Contact us today!