
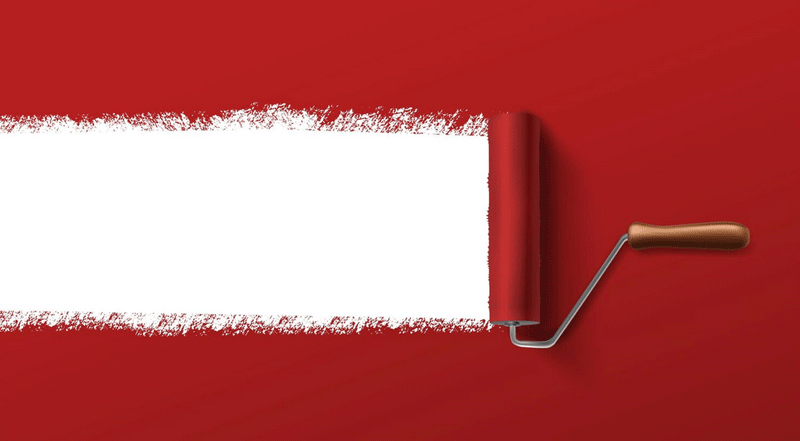
Are you considering adding boldness and vibrancy to your living space with red paint? While red can create a stunning and impactful aesthetic, it’s known to be a challenging color to work with. Achieving a dark and even finish with red paint requires special skills and techniques. In this comprehensive post, we’ll delve into the art of painting with red, offering you invaluable insights and expert advice from seasoned house painters who have mastered the art of red paint.
When it comes to painting with red, the journey starts with the paint itself. Red pigments are less opaque than other colors, making achieving the desired depth and coverage challenging. This issue is primarily due to the base of the red paint needing to be stronger.
Another common frustration when painting with red is the tendency for the color to look uneven when it dries. This is often a result of improper technique and insufficient preparation. Achieving a smooth, consistent finish with red paint requires careful planning and execution.
Selecting the right paint is the first crucial step in achieving a dark and even finish with red paint. Look for paints that have a red base. These paints are specifically formulated to provide better coverage and a truer red hue. When choosing a red base, consider factors like:
The first step in choosing the right paint for your project involves determining your desired shade of red. Defining your preferred shade is essential, whether it’s a rich crimson, a vibrant scarlet, or a deep ruby. Each shade of red has its unique charm and can evoke different moods within a space. Therefore, it’s crucial to pinpoint the precise hue that aligns with your vision.
The brand and quality of paint you select play a pivotal role in the overall success of your project. It’s highly advisable to gravitate towards reputable paint brands with a track record of delivering superior products.
These brands invest in rigorous testing and use premium ingredients, ensuring their paints offer excellent coverage, durability, and color vibrancy. Opting for high-quality paints simplifies the painting process and guarantees a more satisfying and enduring result.
Another crucial consideration when selecting red paint is the finish. The finish you choose can significantly influence the appearance and feel of your painted space. Common options include matte, satin, and gloss finishes, each with distinct characteristics.
Matte finishes are known for their understated elegance and lack of shine, making them ideal for creating a sophisticated ambiance. Satin finishes strike a balance between sheen and subtlety, offering a gentle glow that’s easy to clean. Gloss finishes, on the other hand, provide a glossy, reflective surface that exudes glamour and is often used for accents.
Deciding which finish complements your aesthetic preferences and the room’s function is imperative.
Pro Tip: Consult with paint store experts to find the ideal paint with a red base for your project. |
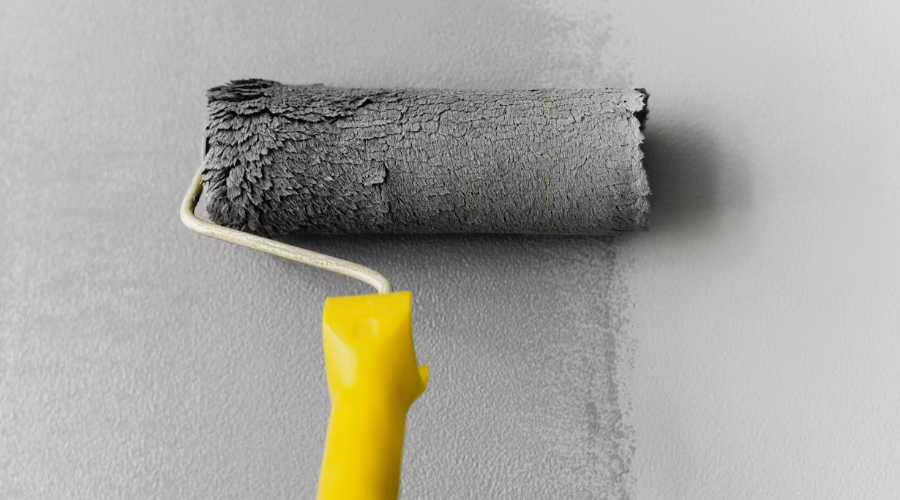
Proper priming is the secret weapon for achieving a flawless finish with red paint. For red painting projects, using a gray primer is highly recommended. Gray primer helps neutralize any underlying colors and provides a solid foundation for the red paint to adhere to. Here’s how to prime effectively:
Begin by meticulously cleaning the surface, ensuring it is entirely free from dust, dirt, or debris. Even the smallest imperfections left unaddressed can become glaringly noticeable once the paint is applied. Therefore, take your time to inspect the surface closely and remove any blemishes or foreign particles that might hinder a smooth paint job.
Once the surface is immaculate, it’s time to apply the gray primer, which plays a crucial role in the painting process. For this step, it’s advisable to use a high-quality roller or brush to coat the entire surface with the primer evenly. Ensure that the application is uniform, as this will create a solid foundation for the subsequent layers of paint. Allow the primer to dry completely before moving on to the next phase of your project.
After the primer has dried thoroughly, it’s essential to perform another critical task—sanding the surface. Lightly sanding the primed surface will help ensure it’s impeccably smooth, creating an ideal canvas for your red paint. This step is vital for achieving a professional and flawless finish, as it eliminates any irregularities and imperfections that may have surfaced during the priming process.
Pro Tip: Don’t rush the priming process; it’s the key to achieving an even, long-lasting red finish. |
Creating texture and depth can make all the difference when painting with red. One technique that professional house painters often use is combining brush strokes with roller stipples. This method adds character to the finish and helps achieve a consistent appearance. Here’s how to execute this technique:
Initiate your painting process by using a brush to apply the red paint deliberately and evenly. This initial step is crucial as it grants you precise control over how the paint is distributed on the canvas.
Additionally, it sets the foundation for texture and depth in your artwork. The confident application of brush strokes allows for creative expression and sets the stage for subsequent techniques.
After applying brush strokes, employ a roller to introduce a stippled texture to the painted surface. Stippling involves gently tapping the roller against the canvas, melding the brush strokes seamlessly and producing a cohesive texture.
This method enhances the visual appeal of your artwork by blending and unifying the red paint, providing a harmonious quality. The careful use of the roller ensures that your painting retains its unique character while achieving a balanced texture.
Pro Tip: Practice this technique on a small test surface to get a feel before tackling larger areas. |
Consistency in the roller direction is vital for achieving an even finish with red paint. Inconsistencies in the roller direction can result in noticeable streaks and color variations. To avoid this, follow these steps:
When you embark on your painting project, choosing a specific corner or edge of the surface is essential to serve as your starting point. This deliberate decision provides structure to your painting process and allows you to work systematically.
As you proceed, it’s vital to maintain a uniform direction while rolling the paint. Depending on the surface’s shape and size, opt for either vertical, horizontal, or diagonal strokes, ensuring each stroke slightly overlaps with the preceding one. Consistency in your rolling direction contributes to a polished and professional finish.
Take breaks to step back and assess the painted area for consistency throughout the painting process. This step ensures that your paint application maintains a uniform roller direction. If you notice any irregularities or unevenness, make necessary adjustments to maintain the desired quality of your work. This ensures your final result is a seamlessly painted surface with a consistent roller direction.
Pro Tip: Blend the roller strokes by lightly feathering the edges with a dry brush to avoid sharp lines or edges. |

Before embarking on your red painting journey, it’s essential to consider whether you should take the DIY route or hire professional house painters in Milford, CT. Both options have their advantages and drawbacks, so let’s explore them.
One of the primary advantages of embarking on a DIY red painting project is the potential for significant cost savings. By taking on the task yourself, you can bypass the labor costs of hiring a professional painter. This financial benefit can be especially appealing for those on a tight budget or looking to allocate their funds elsewhere in the project.
The sense of personal achievement and satisfaction that comes with completing a red painting project on your own is a notable pro. Pointing to a freshly painted room or piece of artwork and saying, “I did that,” can boost your self-esteem and provide a lasting sense of accomplishment.
DIY painting allows you to schedule and work at your own pace. You can choose the most convenient times to work on your project, ensuring it fits seamlessly into your daily routine and other commitments.
One of the significant drawbacks of DIY red painting is the potential need for more skill and experience, particularly for beginners. Achieving a professional finish with red paint can be challenging, and inexperienced individuals may need help with techniques, leading to less-than-desirable results.
DIY painting projects often demand more time than hiring a professional. Learning on the job and taking extra care with each step can extend the project’s timeline. This can disadvantage those looking for quick results or have limited time available.
DIY house painters are susceptible to errors in technique and preparation, which can result in uneven or unsatisfactory outcomes. These mistakes may necessitate redoing sections of the painting or even starting over, consuming more time and resources. Additionally, addressing these errors can be frustrating and lead to a less polished final product than professional work.
One of the standout advantages of enlisting professional house painters is their expertise. These house painters have years of experience and honed skills, making them well-equipped to handle challenging colors like red. Their knowledge of the best techniques, products, and tools ensures a superior paint job with a smooth and flawless finish.
Professional house painters in Milford, CT, excel efficiently, often completing projects significantly faster than a DIY enthusiast. Their proficiency allows them to minimize disruptions to your daily life, ensuring that your home or space is back to normal more swiftly. This is especially advantageous for larger or more complex painting projects.
When you hire professional house painters in Milford, CT, you can expect high-quality assurance. These experts take pride in their work and pay meticulous attention to detail. Whether it’s ensuring even coats, precise edging, or addressing surface imperfections, professional house painters prioritize delivering a top-notch finish that enhances the overall aesthetic of your space.
One of the primary drawbacks of hiring professional house painters in Milford, CT, is the associated cost. Professional labor, materials, and equipment can add up, resulting in a higher overall expense than a DIY painting project. While you may achieve a superior finish, weighing this against your budget and project priorities is essential.
Coordinating your schedule with the availability of professional house painters can be a logistical challenge. Their availability may sometimes align with your desired timeline, potentially causing delays in your project. This inconvenience can be a significant consideration for those with time-sensitive painting needs.
Effective communication with professional house painters is crucial to realizing your vision. Misunderstandings or miscommunication about color choices, design preferences, or project scope can lead to unsatisfactory results. Maintaining clear and open lines of communication throughout the project is essential to avoid potential issues and ensure your expectations are met.
If you’ve decided to opt for professional house painters to tackle your red painting project, making an informed choice is essential. Here are some key factors to consider:
It’s crucial to start your search for a painting service by verifying their qualifications and licensing. This ensures that the painting company and house painters meet industry standards and adhere to necessary regulations. Licensing is a mark of professionalism and expertise, giving you confidence in their ability to deliver quality results.
Request references from previous clients and take the time to examine the painter’s portfolio. By doing so, you can gain valuable insights into their artistic style, the quality of their workmanship, and overall client satisfaction. This step gives you a tangible sense of what to expect when working with the painter.
The internet is a valuable resource for researching painting companies. Look for online reviews and testimonials from past customers to gauge the house painter’s reputation. A painting service with a solid reputation and positive reviews strongly indicates reliability and customer satisfaction.
When considering a painter, inquire about their experience with red paint projects. Ask for examples of their previous work involving red hues to assess their proficiency in handling this challenging color. An experienced painter with a successful track record in working with red paint is more likely to achieve the desired results.
Obtain detailed cost estimates from multiple painting companies to make an informed decision. Review the contracts carefully, ensuring they specify the scope of work, project timeline, and any warranties offered. This step helps you understand the cost structure and ensures both parties clearly understand the project’s expectations.
Effective communication is vital for a successful partnership with professional house painters in Milford, CT. Verify that you can easily convey your vision and expectations to the house painters. Assess their responsiveness to your inquiries and willingness to collaborate to bring your ideas to life.
Discuss the project timeline and ensure it aligns with your preferences and availability. Clarify any potential delays and establish how they will be addressed. A well-defined schedule ensures the painting project proceeds smoothly and meets your timeline requirements.
Achieving a rich and uniform red finish in your home can be gratifying. Whether you choose the DIY route or enlist professional house painters like Milford Professional House Painters, it’s crucial to recognize that successful red painting necessitates meticulous attention to detail, thorough preparation, and appropriate materials. While DIY offers cost savings and a sense of personal accomplishment, professional house painters like us bring years of experience, enhanced efficiency, and a commitment to ensuring impeccable results.
Contact Milford Professional House Painters today for a seamless and professionally executed red painting project. Let us transform your vision into a stunning reality. Contact us now to get started!