
A proper paint job starts long before anyone opens a can of paint. The house painting process step by step is really a sequence of preparation, priming, painting, and finishing. Skipping any stage is the fastest way to end up with peeling, uneven, or short-lived results.
Table of Contents
- Why the Order of Steps Matters
- Step 1: Inspection and Surface Assessment
- Step 2: Protecting the Space and Surrounding Surfaces
- Step 3: Surface Preparation in the House Painting Process
- Step 4: Priming Your Surfaces
- Step 5: Choosing the Right Paint
- Step 6: Applying the Paint in the House Painting Process
- Step 7: Trim, Detail Work, and Second Coats
- Step 8: Cleanup and Final Inspection
Why the Order of Steps Matters
Paint does not fix a bad surface; it amplifies it. If cracks, dust, grease, or old loose paint exist underneath, a fresh coat will peel, bubble, or crack within months. This is why professional painters spend significant time on preparation rather than just the painting itself.
The painting industry in the U.S. reflects just how seriously this craft is taken at scale. According to IBISWorld (July 2025), U.S. house painting and decorating industry revenue reached $28.2 billion in 2025. The expected five-year CAGR is 3.7%. That kind of sustained growth points to real demand for quality work done correctly.
Interestingly, a 2026 data report by Workyard notes something important. In 2025, 73% of home improvement projects were at least partially DIY efforts. Painting ranked as the most popular DIY category. That tells us two things: painting feels accessible to homeowners, and the risk of skipping steps is very real when experience is limited.
Moreover, following a structured sequence is what separates a professional result from a weekend project that needs redoing in two years.

Step 1: Inspection and Surface Assessment
Before any tools come out, a thorough inspection of every surface is essential. For interior jobs, check walls and ceilings for water stains, cracks, nail holes, and areas where old paint has started to bubble or chip. For exterior projects, inspect wood siding, soffits, fascia boards, caulking around windows and doors, and any signs of mold or moisture damage.
At West Hartford House Painting Experts, our team walks through each space with the homeowner before starting any job. This initial assessment determines what repairs are needed. It identifies what type of primer is appropriate. Additionally, it determines whether any specialized prep work like wallpaper removal or popcorn removal needs to happen first. Skipping this step often means discovering problems mid-project. As a result, this always costs more time and money than catching them upfront.
Step 2: Protecting the Space and Surrounding Surfaces
Once the assessment is done, everything that should not get paint on it needs to be covered or removed. Interior jobs require moving furniture to the center of the room or out entirely. Cover floors with drop cloths. Remove outlet covers, switch plates, and light fixtures where possible.
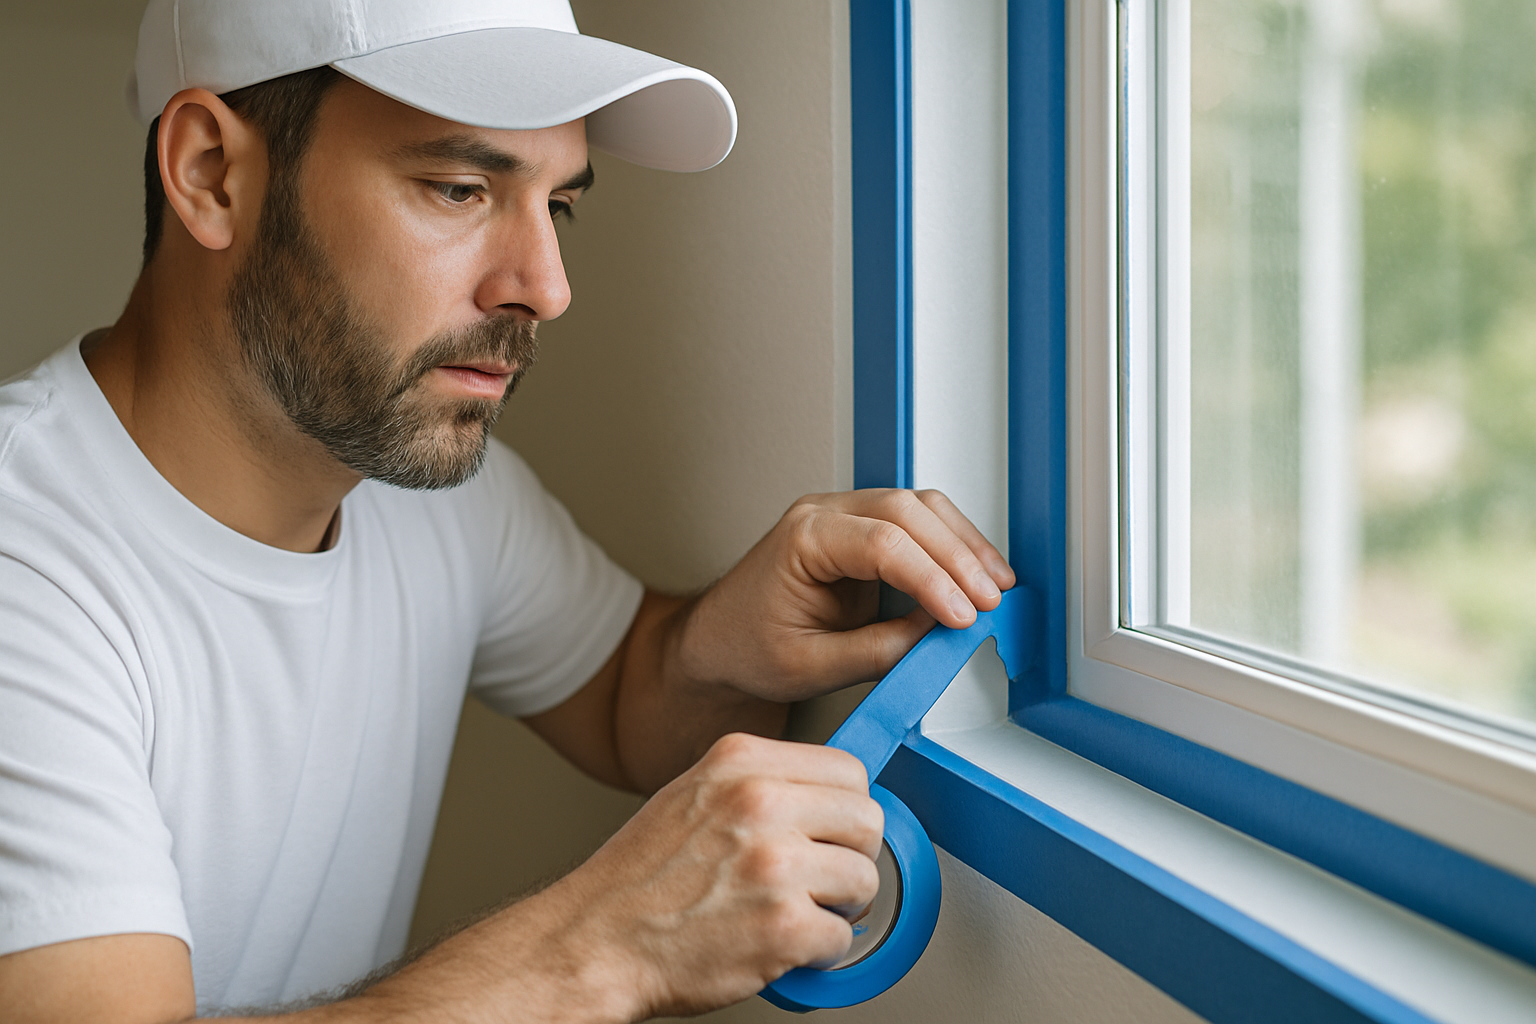
For exterior painting, this means covering landscaping and moving outdoor furniture. Protect windows, doors, and trim with painter’s tape and plastic sheeting. This step is unglamorous but absolutely critical. When you invest in painting services near me, protection ensures that investment is worthwhile. Even a small overspray or drip on a hardwood floor or a prized shrub can become a costly issue.
Step 3: Surface Preparation in the House Painting Process
This is where the real work happens. It is often the most time-intensive part of the entire process. Surface prep for the house painting process step by step includes several sub-tasks:
- Cleaning: Interior walls are wiped down with a TSP (trisodium phosphate) cleaner or a mild detergent solution. This removes grease, smoke residue, and grime. Exterior surfaces are typically pressure washed to remove dirt, mold, and chalking paint.
- Scraping and sanding: Any loose, peeling, or flaking paint must be scraped away. Edges are feathered with sandpaper so they blend smoothly. Glossy surfaces are also sanded to give the new paint something to grip.
- Repairing: Nail holes, cracks, and gouges are filled with spackling compound or wood filler. Hairline cracks in drywall may need mesh tape and joint compound. Exterior rot or damaged wood may need replacement entirely before painting begins.
- Caulking: Gaps around windows, doors, trim, and siding are sealed with fresh paintable caulk. This prevents moisture intrusion and creates a clean finished edge.
Skipping or rushing any of these substeps is where DIY projects most often fall short. Furthermore, the surface has to be clean, dry, and structurally sound before anything else happens.
Step 4: Priming Your Surfaces
Primer is not optional in most situations. It serves multiple functions: it seals porous surfaces, provides uniform adhesion for the topcoat, blocks stains, and can help with color transitions. This is particularly helpful when going from a dark color to a lighter one.
Different surfaces need different primers. New drywall requires a PVA primer. Stain-blocking situations call for shellac-based or oil-based primers. Exterior wood often benefits from an alkyd primer for better penetration and durability. Asking a paint store professional or your contractor which primer is right for your specific substrate is always a good idea. This is especially true when considering best exterior paint colors for homes.
Primer should be allowed to dry fully according to the manufacturer’s instructions before topcoats are applied. Rushing this stage will compromise adhesion.
Step 5: Choosing the Right Paint
Paint selection affects not just appearance but also longevity, maintenance, and indoor air quality. Consider these main variables:
| Factor | Options | Best For |
|---|---|---|
| Finish | Flat, eggshell, satin, semi-gloss, gloss | Ceilings (flat), living rooms (eggshell/satin), kitchens and baths (semi-gloss) |
| Base | Water-based (latex), oil-based | Most interiors (latex), high-traffic trim (oil) |
| VOC content | Low-VOC, zero-VOC, standard | Homes with children, allergy concerns, tight spaces |
| Quality grade | Contractor-grade, premium | Longer-lasting results with premium |
The growing preference for low-VOC options is well-supported by consumer trends. According to Vanderkolk Painting (September 2025), 80% of consumers are willing to pay more for eco-friendly products. The low- and zero-VOC paint market is projected to reach $11.17 billion by 2025. It will grow to $17.83 billion by 2032.
For exterior projects, color selection plays an important role in curb appeal and value. Understanding the average cost to paint a room can help you budget appropriately for premium paint options.
Step 6: Applying the Paint in the House Painting Process
With prep complete, primer dry, and paint selected, the actual application begins. Professional painters follow a structured approach:
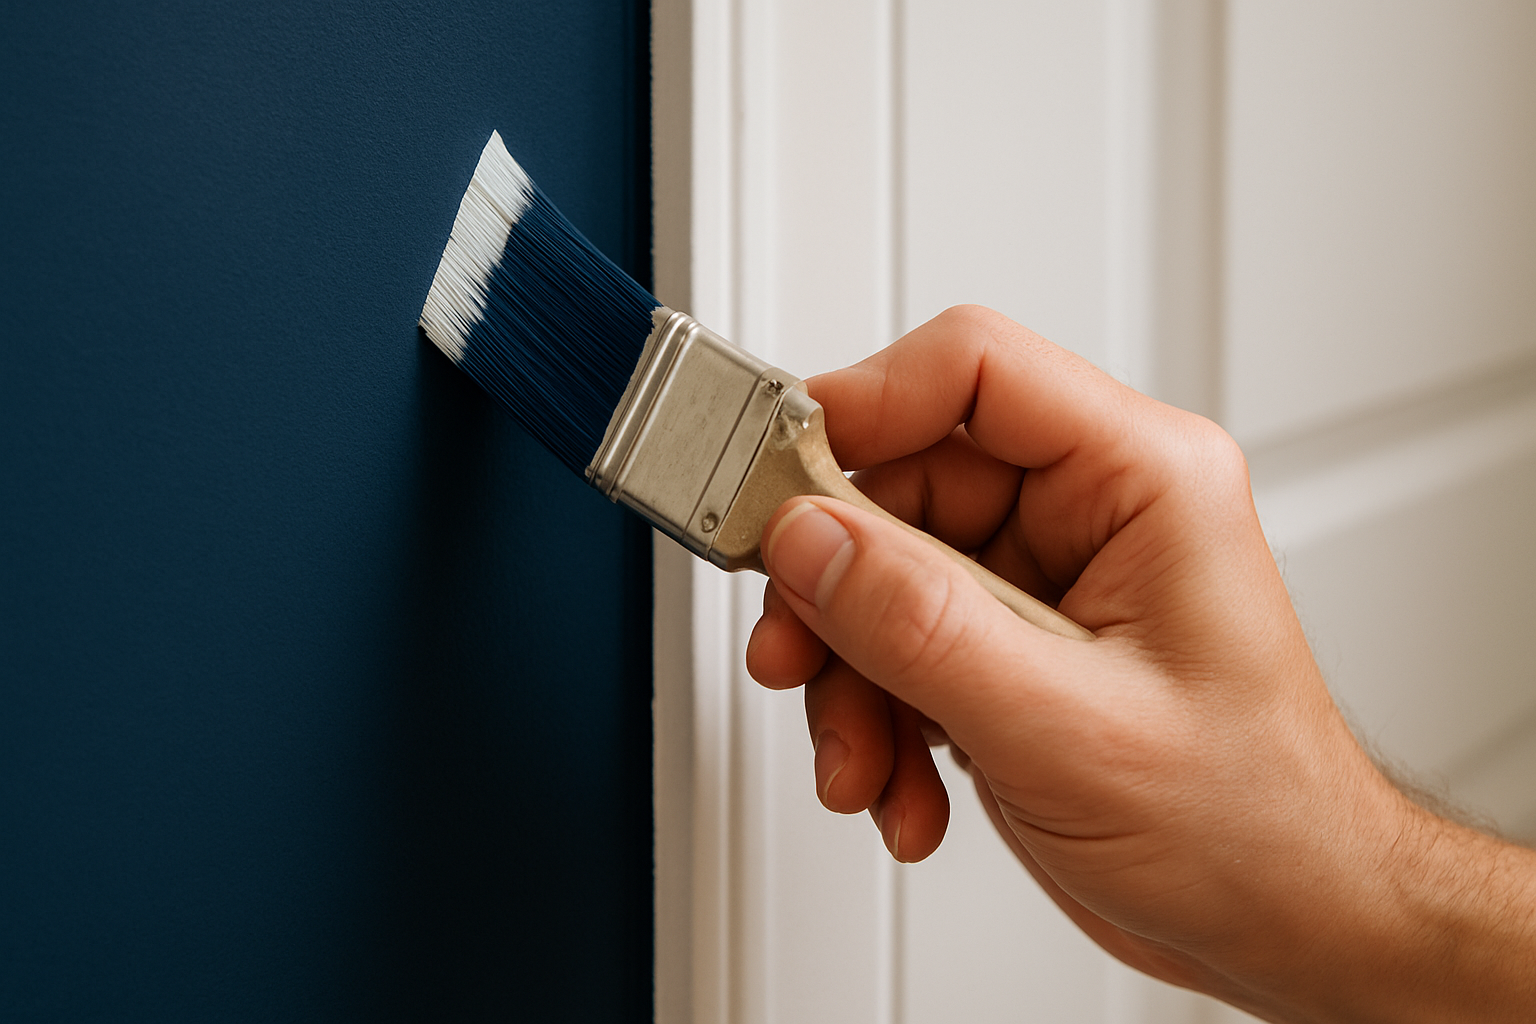
Cut in first. Using an angled brush, paint a 2- to 3-inch border along all edges, corners, trim lines, and where walls meet ceilings. Do this before rolling so the brush marks can be blended into the wet rolled paint.
Roll in sections. Using a quality roller with the appropriate nap thickness for the surface texture, work in manageable sections. Use a W or M pattern to distribute paint evenly before spreading it out. Maintain a wet edge to avoid lap marks.
Work top to bottom. On walls, start near the ceiling and work down. On exterior surfaces, work from the top of the structure downward. This allows any drips to fall onto unpainted surfaces.
Apply thin, even coats. One thick coat is not better than two thin ones. Thick coats sag, drip, and dry unevenly. Most surfaces need at least two coats of finish paint for full, consistent color coverage.
Step 7: Trim, Detail Work, and Second Coats
After the first coat dries fully, check the paint label for recoat times. Most latex paint requires 2 to 4 hours under normal conditions. A light sanding with fine-grit sandpaper can smooth any raised grain or texture before the second coat goes on.
Trim work, including baseboards, door casings, window trim, and crown molding, is typically done after walls are painted. This approach is easier because you cut a clean line where trim meets a painted wall. The reverse approach is more difficult. Painters use a small angle brush and work carefully to keep lines sharp. Additionally, if you have been considering a statement wall in your living space, understanding accent wall ideas living room options can help you plan exactly where contrasting color should go before the trim stage begins.
The second coat is applied using the same technique as the first. Once it dries, the result should be a solid, uniform color with no visible roller marks or streaks.
Step 8: Cleanup and Final Inspection
The job is not done when the last stroke of paint goes on. A thorough cleanup and final walkthrough are what separate a complete, professional result from an unfinished one.
Cleanup includes:
- Carefully removing all painter’s tape while the paint is still slightly tacky (not fully cured) to avoid peeling edges
- Pulling up drop cloths and disposing of paint-soaked materials properly
- Cleaning brushes and rollers according to paint type (water for latex, mineral spirits for oil-based)
- Reinstalling outlet covers, switch plates, and hardware
- Touching up any spots missed or where tape removal pulled paint
The final inspection should be done in good lighting. Use both natural and artificial light to catch any holidays (spots of missed coverage), drips, or uneven areas. Address these with a small brush before the crew packs up.
The global house painting service market reflects the worldwide appetite for quality finishes. Currently valued at $93.6 billion in 2025, it is projected to reach $162.4 billion by 2034 according to DataIntelo (March 2026). Following the house painting process step by step is exactly what produces these professional results. West Hartford House Painting Experts serves homeowners across West Hartford, Bloomfield, Newington, Farmington, Avon, Windsor, East Hartford, Glastonbury, Manchester, Wethersfield, and Hartford County. We bring this structured, detail-oriented approach to every single project we take on.
Things to Know
- Dry time and recoat time are not the same thing. Paint may feel dry to the touch within an hour. However, the recoat window on most latex paints is 2 to 4 hours. Applying a second coat too early traps moisture and causes peeling or bubbling down the line.
- Temperature and humidity affect paint adhesion significantly. Most latex paints should be applied when temperatures are between 50°F and 85°F with humidity below 70%. Painting on a hot, humid day or in direct sunlight can cause the paint to dry too fast. As a result, this leads to lap marks and poor bonding.
- One gallon of paint covers approximately 350 to 400 square feet on a smooth surface. Textured walls, rough wood siding, or porous masonry absorb more and will reduce coverage. Therefore, always buy slightly more than your square footage calculation suggests.
- Tape should come off at the right time. Pulling painter’s tape after the paint has fully cured can tear the dried film and leave ragged edges. Remove it while the paint is still slightly tacky, typically within 60 minutes of finishing a section, pulling at a 45-degree angle back over itself.
- Not every wall needs a full prime coat, but skipping primer entirely on new drywall is a mistake. Unprimed drywall absorbs paint unevenly. This produces a blotchy finish called “flashing” that no amount of additional topcoats will fully correct.
- Color samples should always be tested on the actual wall. Paint chips and digital swatches look different under different lighting conditions. Apply a sample patch of at least 12 inches by 12 inches and observe it at different times of day before committing to a full room.
Start Your Project Right With a Professional Walkthrough
A clean, lasting paint job comes down to preparation, the right materials, and the right team executing each step in order. If you are ready to stop guessing and get a project done correctly the first time, request a free estimate from West Hartford House Painting Experts. Find out exactly what your home needs. We serve West Hartford and the surrounding Hartford County area with licensed, insured, and bonded painting services for both interior and exterior projects. Call us or fill out our contact form today and we will set up a no-obligation walkthrough of your space.
Frequently Asked Questions
Q: How long does the house painting process take from start to finish?
The timeline depends on the size of the project, but most single-room interior paint jobs take one to two days when done properly.
Surface prep, priming, and two coats of finish paint each need adequate drying time between stages. A full exterior repaint of an average-sized home typically takes three to five days. This accounts for pressure washing, repairs, and multiple coats. Rushing the timeline by cutting dry time short is one of the most common causes of paint failure.
Q: Do I really need to prime before painting, or is paint-and-primer-in-one enough?
Paint-and-primer-in-one products work well for repaints over a similar color on a sound, clean surface, but they are not a substitute for a dedicated primer on new drywall, stained surfaces, or dramatic color changes.
A standalone primer seals the substrate more effectively. It gives the topcoat a more consistent base to adhere to. In situations involving water stains, smoke damage, or raw wood, a dedicated stain-blocking primer is essential. It cannot be replaced by a combination product.
Q: What is the correct order to paint a room, walls first or trim first?
Professional painters typically paint ceilings first, then walls, then trim last.
This sequence works because it is easier to cut a clean line along finished trim with a brush. The alternative is to mask a wall that has not been painted yet, which is more difficult. Painting trim last also means any accidental wall paint that gets on the trim will be covered when you do the final trim coat. Keeping this order consistent across the project reduces rework and produces cleaner lines throughout.
Q: How do I know if my exterior needs repainting or just a touch-up?
If you are seeing widespread peeling, chalking, fading, or cracking across large sections of siding, a full repaint is almost always the more cost-effective solution compared to repeated spot repairs.
Touch-ups work when damage is isolated to small areas and the existing paint is still adhering well overall. A simple test is to press a piece of clear tape firmly against the siding and pull it off quickly. If significant paint lifts with it, the surface has lost its adhesion. Therefore, a full prep-and-repaint is warranted. A professional inspection can give you a definitive answer before you commit to either approach.
Q: Can I paint over mold, or does it need to be treated first?
Mold must be treated and fully removed before any paint is applied. Painting over mold does not kill it and will not prevent it from spreading.
The affected area should be cleaned with an appropriate mold-killing solution and allowed to dry completely. After drying, inspect the area to confirm the mold is gone before priming and painting begin. In cases where mold has penetrated drywall or wood deeply, the material may need replacement entirely. For health and safety reasons, significant mold remediation should be handled by a qualified professional rather than treated as a DIY prep task.