
6 Proven Methods Exterior Painters Use to Fix Common Deck Stain Issues
Staining your deck can greatly improve its appearance, but common deck stain issues like uneven color, peeling, and mildew can occur. Professional exterior painters use proven methods to fix these problems, to ensure your deck looks its best and the stain lasts longer.
Here are some expert techniques exterior painters in West Hartford, CT, rely on to address and solve these common deck stain issues.
6 Ways Exterior Painters Fix Common Deck Stain Problems
Method 1: Sanding the Deck Surface
Sanding is a critical step that exterior painters use to ensure that the stain adheres properly and evenly across the entire deck surface. The process helps to remove the old stain, weathered wood, and any imperfections, resulting in a smooth and clean surface ready for the new stain application. Sanding also opens up the pores of the wood, allowing for better absorption of the stain and a more uniform finish.
Steps to Sand Down the Deck Surface
Exterior painters follow a structured process when sanding down a deck to guarantee the best results:
- Clear the Deck: Before any sanding begins, professional exterior painters will ensure that the deck is completely clear of furniture, plants, and any other obstacles. This provides a clean working space and avoids damage to objects on the deck.
- Assess the Condition of the Deck: Next, exterior painters will inspect the deck for damaged or splintered areas. If any boards are loose, cracked, or severely weathered, they may need to be repaired or replaced before sanding.
- Begin with Coarse Grit Sandpaper: The sanding process typically begins with coarse grit sandpaper (40-60 grit). Exterior painters use this to remove the old stain and smooth out any imperfections in the wood. Coarse grit sandpaper is effective at stripping away layers of buildup and preparing the surface for finer sanding.
- Finish with Fine Grit Sandpaper: Once the deck has been sanded with coarse grit, exterior painters will switch to a finer grit (80-120 grit) to smooth out the surface further. This ensures the wood is even and ready to absorb the new stain properly.
- Clean the Deck Surface: After sanding, it’s crucial to clean the deck thoroughly. Exterior painters will remove any dust, debris, and residue to prevent them from interfering with the stain application. They typically use a vacuum or broom to clean up, followed by wiping down the surface with a damp cloth.
Method 2: Moisture Content Testing
When it comes to deck staining, one of the most common challenges exterior painters face is ensuring proper stain adhesion. If the wood retains too much moisture, the stain won’t properly penetrate, leading to a range of issues such as uneven coloring, peeling, or early deterioration.
Why Moisture Content Testing Matters
The moisture content is one of the key factors that significantly influence wood and its characteristics. Staining a deck when the wood contains excess moisture can have significant consequences. Moisture prevents the stain from bonding with the wood fibers, causing it to sit on the surface rather than absorb properly. This leads to:
- Blotchy and uneven stain application
- Premature peeling or flaking
- Reduced lifespan of the stain
How Exterior Painters Use Moisture Meters
To avoid moisture-related staining issues, exterior painters rely on moisture meters—tools specifically designed to measure the moisture content in wood. Here’s how the process typically works:
- Preparation: Before staining, exterior painters ensure the deck is cleaned and allowed to dry for several days, especially after rain or pressure washing.
- Moisture Testing: Using a moisture meter, exterior painters check various areas of the deck. They measure the moisture content of the wood at multiple points to get an accurate reading.
- Decision-Making: If the moisture content is above 15%, most exterior painters will delay staining until the deck has dried further. For optimal results, a moisture content of 12% or lower is often recommended.
Types of Moisture Meters Exterior Painters Use
There are different types of moisture meters exterior painters use, each serving a specific purpose depending on the condition of the deck:
- Pin-Type Meters: These meters use two small pins that are inserted into the wood to measure the moisture level. Pin-type meters provide an accurate reading but can leave tiny marks on the wood.
- Pinless Meters: Exterior painters may opt for pinless meters, which use electromagnetic sensors to measure moisture content without penetrating the surface. These are ideal for decks where minimal disruption to the wood is preferred.
When to Test Moisture Content
Moisture testing is not a one-time event. Exterior painters often check moisture levels at various stages:
- Before the initial stain application
- After any significant rainfall
- After cleaning or power washing the deck
Method 3: Neutralizing the Deck Surface (Brightening)
Deck staining can be a tricky process, and even after cleaning the deck thoroughly, you might notice that the stain appears dull or uneven. This common issue occurs due to an imbalance in the wood’s pH levels, especially after using cleaning or stripping solutions. To ensure your deck absorbs stain evenly and has a vibrant finish, exterior painters recommend neutralizing the surface with a deck brightener.
Why is Deck Brightening Important
Exterior painters emphasize that cleaning and stripping agents often leave behind residues that raise the wood’s acidity or alkalinity. This imbalance can affect how the wood reacts to the stain, leading to poor absorption, patchy coloring, and a dull finish.
Process of Applying a Deck Brightener
Exterior painters typically recommend to follow these key steps when neutralizing a deck surface:
- Choose a Quality Deck Brightener: Select a product designed specifically for neutralizing pH levels in wood. Most brighteners contain oxalic acid or similar ingredients that work to correct the pH.
- Prepare the Deck: Before applying the brightener, ensure the deck is clean and free of any dirt, mildew, or old stain residue. Exterior painters recommend allowing the deck to dry fully before starting the brightening process.
- Apply the Brightener Evenly: Use a pump sprayer or a brush to apply the brightener. Exterior painters advise working in small sections to ensure even coverage across the entire deck surface.
- Allow the Brightener to Sit: After application, let the brightener sit on the deck for the time specified by the manufacturer. This is usually around 15-30 minutes. This step is crucial for the brightener to neutralize the wood and prepare it for staining.
- Rinse Thoroughly: Once the brightener has had time to work, rinse the deck thoroughly with water. Exterior painters stress the importance of removing all brightener residue, as leftover chemicals can still affect stain application.
Benefits of Using a Deck Brightener
There are several reasons why exterior painters insist on using a deck brightener before staining:
- Enhanced Stain Absorption: Neutralizing the deck surface ensures that the stain penetrates deeply and evenly, resulting in a more consistent finish.
- Restores Natural Wood Color: Brighteners often restore the wood’s natural color, making it look fresh and revitalized before staining.
- Improves Longevity of the Stain: When the stain is applied to a neutralized surface, it adheres better and lasts longer, preventing issues like premature fading and peeling.
Pro Tips from Exterior Painters
When applying a deck brightener, knowing the steps isn’t enough; you should also know how to optimize the process for the best results. Here are a few expert tips:
- Work in the Shade: Exterior painters recommend applying deck brightener in the shade or during cooler parts of the day to prevent the solution from drying too quickly.
- Always Follow Manufacturer Instructions: Each deck brightener product has unique instructions, and exterior painters advise following them closely to achieve the best results.
- Test on a Small Area: Before applying the brightener to the entire deck, test it on a small area to ensure it works well with your wood type.
Method 4: Proper Application Techniques
One of the most common issues that homeowners face when staining their decks is the appearance of lap marks, streaks, or uneven applications. These imperfections can result from improper staining techniques, applying stain in inconsistent layers, or using the wrong tools for the job. Fortunately, professional exterior painters have mastered the techniques needed to avoid these common problems.
Choosing the Right Tools
Exterior painters in West Hartford, CT, know that the tools you use can make or break the final look of your deck. Here are the recommended tools for a professional-looking finish:
- Brush: Best for detailed work and cutting in edges. A high-quality, natural-bristle brush is ideal for oil-based stains, while synthetic brushes work well for water-based stains.
- Roller: Great for covering larger areas quickly. Use a roller with a 3/8-inch nap for smooth surfaces or a 1/2-inch nap for rougher wood.
- Staining Pad: Ideal for even application and minimal streaks. Exterior painters often prefer staining pads for achieving a uniform coat without leaving lap marks.
Applying Stain in the Direction of the Grain
Exterior painters emphasize the importance of always applying the stain in the direction of the wood grain. This ensures that the stain penetrates evenly and enhances the natural beauty of the wood. Here are some key tips that exterior painters follow to ensure a flawless stain application:
- Work in small sections: Apply the stain to one section of the deck at a time to avoid overlap marks. Move to the next section only after completing the previous one.
- Keep a wet edge: This technique involves maintaining a wet edge while applying stain, ensuring that the areas blend seamlessly together without creating lines or streaks.
- Avoid over-application: Applying too much stain can cause pooling and lead to an uneven finish. Exterior painters recommend wiping off any excess stain to prevent this issue.

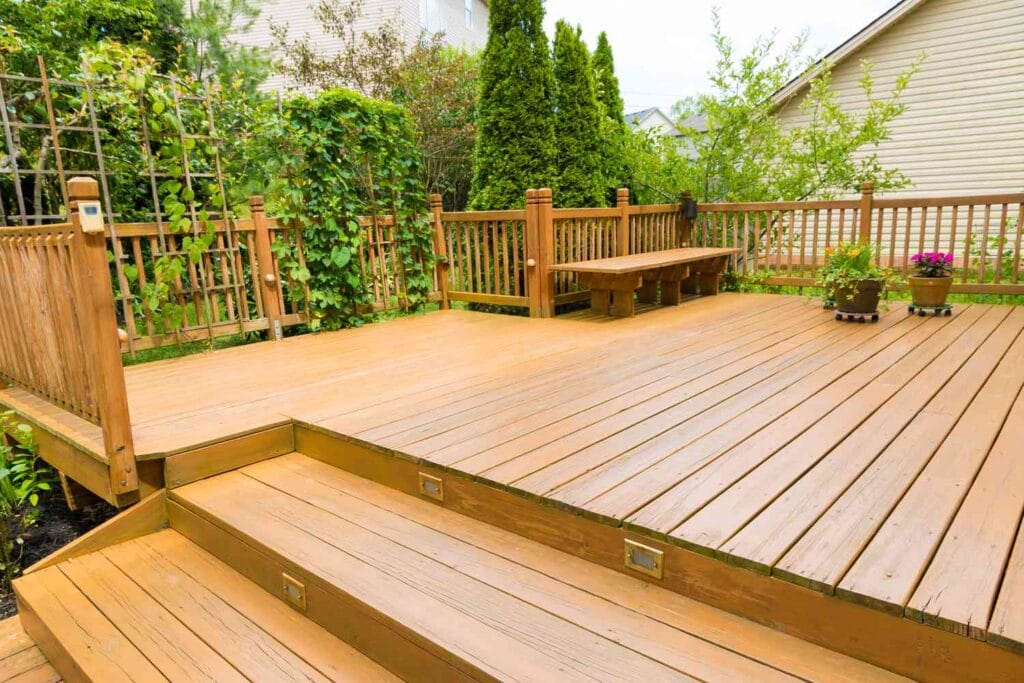
Method 5: Sealing the Deck After Staining
Another common challenge that homeowners face after staining their deck is the rapid fading of the stain due to harsh weather conditions. Exposure to UV rays, rain, and temperature fluctuations can significantly reduce the lifespan of your deck’s finish, leaving it looking worn and unattractive.
Exterior painters recommend applying a high-quality sealant after staining your deck to protect it from the elements. Sealants act as a protective barrier, locking in the color and preventing moisture from penetrating the wood.
Tips for Applying Deck Sealant
Applying deck sealant correctly can protect your deck from weather damage and extend its lifespan. To ensure a smooth application and lasting results, follow these expert tips:
- oose the Right Time: Ensure the deck is completely dry and the weather forecast is clear for at least 24-48 hours after application.
- Use the Right Tools: Exterior painters often use brushes or rollers designed for stain and sealant application to ensure even coverage.
- Apply Evenly: Work in small sections, applying a thin, even coat of sealant. Avoid puddling, as this can cause the finish to become uneven.
- Regular Maintenance: Reapply the sealant every couple of years, or as needed, to keep your deck in top condition.
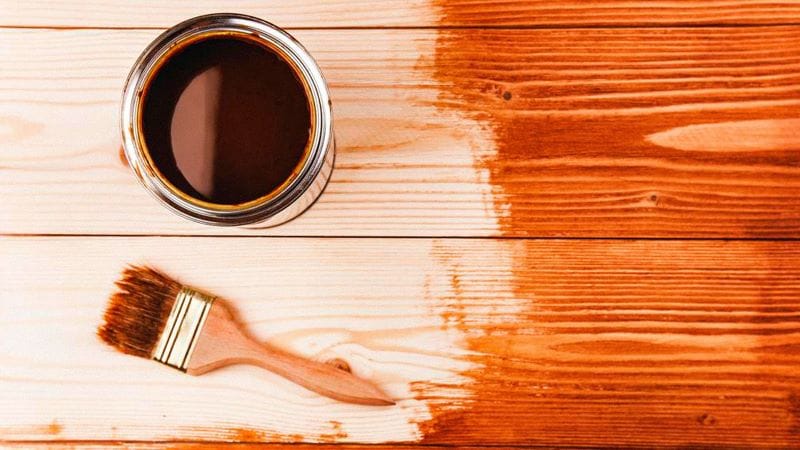
Method 6: Using High-Quality Stain Products
Using low-quality stain products is a common mistake that can lead to several issues, including premature wear, peeling, and a generally unsatisfactory appearance. Cheap stains often lack the necessary ingredients to withstand the rigors of outdoor exposure, resulting in a deck that quickly deteriorates.
Exterior painters strongly advise investing in high-quality stain products specifically designed for outdoor use. Premium stains are formulated with advanced technologies that offer superior protection and durability, ensuring that your deck stays beautiful and functional for a long time.
Features of High-Quality Stains
When selecting a deck stain, it’s important to choose one that offers long-lasting protection and durability. Look for these key features in high-quality stains:
- UV Resistance: High-quality stains contain UV blockers that protect the wood from sun damage, preserving the color and integrity of the stain. Without this protection, ultraviolet (UV) rays break down the molecular structure of the paint, gradually causing a loss of color intensity.
- Water Repellency: Premium stains are designed to repel water, preventing moisture from seeping into the wood and causing damage.
- Mildew Resistance: Many top-tier stains include mildew inhibitors to prevent the growth of mold and mildew, which can cause wood to deteriorate.
- Long-Lasting Color: The best stains maintain their color longer, reducing the need for frequent reapplications.
How to Choose the Right Stain
Choosing the right stain can make all the difference in the appearance and longevity of your deck. Here’s how to make the best choice:
- Consider Your Climate: Exterior painters recommend selecting a stain that is suited to your region’s climate, whether it’s hot and sunny or wet and humid.
- Check Reviews and Recommendations: Look for stains that come highly recommended by professionals and have positive reviews from homeowners.
- Test a Small Area: Before committing to a stain, test it on a small, inconspicuous area of your deck to ensure it provides the color and finish you desire.
Frequently Asked Questions
What is the best time of year to stain a deck?
The best time of year to stain a deck is typically during late spring or early fall when the weather conditions are more consistent and favorable. During these periods, temperatures usually range between 50°F and 85°F, which allows the stain to properly penetrate and dry. It’s also important to check for low humidity and avoid rainy days, as moisture can disrupt the curing process. Staining in extreme heat or direct sunlight can cause the stain to dry too quickly, leading to uneven results.
How often should a deck be stained?
On average, a deck should be stained every 2 to 3 years to maintain its appearance and protect the wood. However, the frequency can vary based on factors such as the type of wood, climate conditions, and the quality of the stain used. Decks that are exposed to harsh weather or direct sunlight may need more frequent maintenance. It’s essential to regularly inspect your deck for signs of wear, such as fading, cracking, or peeling, which could indicate the need for a new coat of stain.
Can you stain over an old stain?
You can stain over an old stain, but certain conditions must be met for the new stain to adhere properly. If the previous stain is still in good condition, you may be able to apply a similar or darker shade without fully stripping the old stain. However, if the old stain is peeling, chipping, or significantly faded, it’s best to strip or sand the deck first to create a smooth, clean surface. Applying a new stain over an existing one may affect the final color, so test a small area before proceeding.
What type of stain should I use for my deck?
The type of stain you should use depends on the look you want and the level of protection you need for your deck. There are three main types of deck stains: transparent, semi-transparent, and solid. Transparent stains allow the most natural wood grain to show through, while semi-transparent stains offer a bit more color and protection without completely covering the wood. Solid stains provide the most color and protection but hide the natural grain of the wood.
What are common mistakes to avoid when staining a deck?
Common mistakes when staining a deck include applying stain to a damp surface, failing to clean the deck properly beforehand, and applying too thick a coat. Staining wet wood can cause the stain to not adhere correctly, leading to blotchy or uneven results. Another mistake is applying too much stain at once, which can result in pooling, peeling, or a sticky finish that doesn’t dry properly. Additionally, skipping sanding or using a pressure washer incorrectly can damage the wood, affecting the final look.
Trust the Experts for Your Deck Staining and Sealing Needs!
When it comes to protecting and enhancing the beauty of your deck, you deserve the expertise of seasoned professionals. West Hartford House Painting Experts is here to ensure your deck looks its best and stands the test of time. Our team specializes in deck staining and sealing services that keep your outdoor space looking pristine, even in the harshest weather conditions. Let us help you achieve long-lasting results for your deck in West Hartford, CT, using high-quality products and proven techniques.
Contact West Hartford House Painting Experts today and let our experts give your deck the care it needs to thrive.