Google Reviews

Free Estimates Here

How to Prep Interior Walls: Pro Tips for a Smooth Finish

How to Prep Interior Walls: Pro Tips for a Smooth Finish

Table of Contents

Key Takeaways

Before painting begins, professionals clear and protect the area by organizing the workspace, covering furniture and floors, and ensuring everything is prepped for a clean job.

To ensure proper paint adhesion, they clean the surface using degreasers, mold treatments, and pressure washing for surface prep when needed.

Experts inspect for damage by identifying cracks, dents, peeling paint, and moisture issues that could compromise the finish.

They repair and patch imperfections with spackle, joint compound, or drywall replacement to create a solid foundation.

Technicians sand the walls to smooth out repairs and feather edges, ensuring a consistent texture across the entire surface.

To prepare for painting, they apply primer tailored to the wall’s condition, sealing and balancing surface absorption.

Finally, a detailed final check confirms the surface is smooth, clean, and ready for paint with no overlooked flaws.

Preparing interior walls for painting is one of the most crucial stages of any remodeling or renovation project. Without proper preparation, even the highest-quality paint can fail to adhere correctly, resulting in an uneven, short-lived finish. This is where the expertise of professional surface prep teams becomes invaluable. With advanced tools and techniques, these professionals ensure your walls are in optimal condition before a single drop of paint is applied.

Here’s how surface preparation services approach wall prep with precision.

Why Wall Preparation Matters

Why Wall Preparation Matters

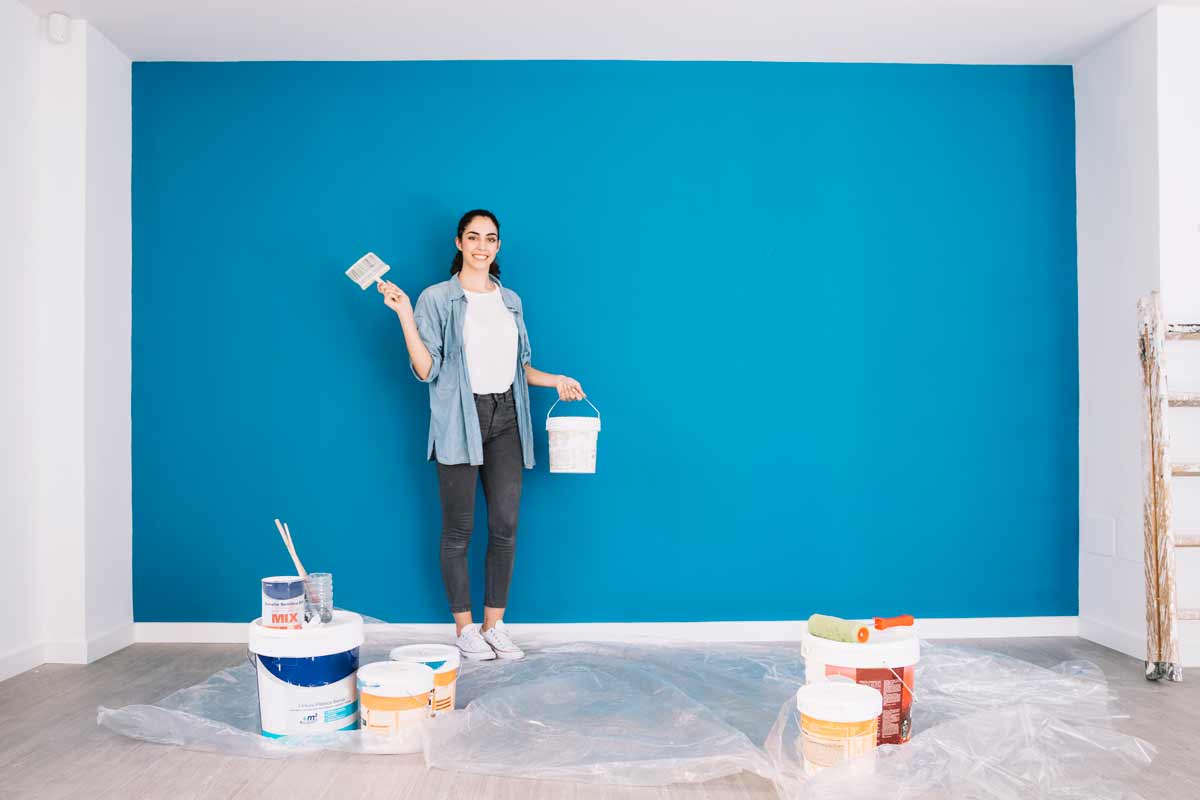
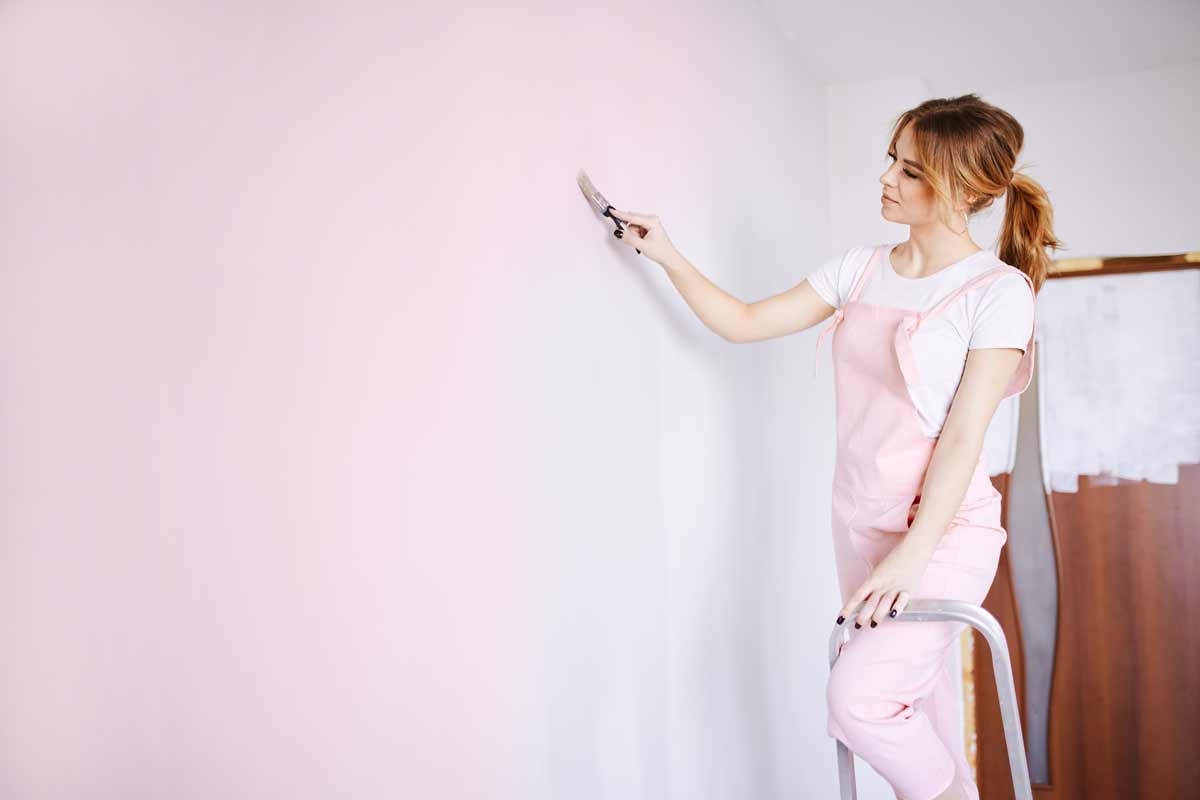
Wall preparation is the foundation that determines the overall quality, durability, and visual appeal of any paint job. Approximately 80% of coating failures are caused by inadequate surface preparation, making this step the single most critical factor in achieving long-lasting results. 

Surface preparation services emphasize prep work because even the most premium paint will fail without it. With the use of advanced techniques like pressure washing for surface prep, meticulous hand-sanding, and sandblasting surface preparation, professionals eliminate guesswork and deliver flawless results. 

  • Prevents Peeling or Flaking Paint: Paint applied to dirty or unstable surfaces tends to lift, peel, or flake over time. Proper prep removes contaminants and loose materials, ensuring long-term adhesion.
  • Eliminates Uneven Sheen and Blotchy Finishes: Unprepped walls absorb paint inconsistently, leading to patchy or streaked appearances. Professional surface prep balances absorption rates across all areas for a clean, uniform finish.
  • Improves Paint Adhesion Across All Surface Types: Whether the wall is drywall, plaster, wood, or masonry, adhesion varies. Priming and cleaning—especially using methods like pressure washing for surface prep—create the optimal bonding layer.
  • Extends the Lifespan of the Paint Job: Paint on poorly prepped surfaces can degrade in a year or two. With proper preparation, paint can last up to a decade, especially when applied over professionally treated walls.
  • Corrects Invisible Issues Before They Escalate: Surface preparation services identify subtle defects such as hairline cracks, moisture damage, or chalky residue that may be missed in DIY inspections.
  • Prepares Surfaces for Specialty Paints or Coatings: High-performance or textured coatings demand a flawless base. Proper prep ensures compatibility and performance of specialty products.
  • Protects Against Moisture-Related Failures: Moisture trapped under paint can lead to blistering, mold growth, or delamination. Methods like sandblasting, surface preparation, and mold-resistant primers mitigate this risk by cleaning deeply and sealing effectively.
  • Supports a Cleaner, Healthier Indoor Environment: Prep work often includes removing allergens, dust, and old lead-based paint layers. This is especially important in homes with children or people with respiratory sensitivities.
  • Enhances Final Aesthetic Results: Smooth surfaces reflect light more evenly and make colors appear richer. Prep ensures that paint finishes—whether matte, satin, or gloss—look professional and polished.
  • Demonstrates a Commitment to Quality: The attention to detail shown during prep signals craftsmanship and care. Affordable surface cleaning and prep services prove that you don’t have to sacrifice quality for cost.

Step-by-Step Interior Wall Preparation Process

Expert wall prep involves more than just wiping down the surface. Each phase serves a specific purpose and builds toward the ideal foundation for painting.

Step 1: Clear and Protect the Area

The first step in any professional surface prep job is organizing the workspace for safety, access, and cleanliness. This not only protects valuable items but also allows technicians to move freely and work efficiently. A properly staged area minimizes cleanup, protects valuables, and improves the overall efficiency of surface preparation services.

  • Relocate or Consolidate Furniture: Move all furnishings out of the room if possible. If space is limited, shift items to the center and cover them securely with plastic sheeting to shield them from dust and debris.
  • Cover Flooring with Industrial Drop Cloths: Durable, non-slip canvas or plastic drop cloths are laid down to protect hardwood, carpet, or tile floors from scratches, spills, and dust during sanding or sandblasting surface preparation.
  • Detach Wall Accessories and Fixtures: Remove picture frames, shelves, curtain rods, mirrors, outlet covers, and switch plates. This eliminates obstructions and ensures no accidental damage during the prep or paint process.
  • Use Painter’s Tape Strategically: Mask off trim, baseboards, window sills, and door frames using high-quality painter’s tape. This provides clean paint lines while also protecting these elements from overspray or accidental contact.
  • Ventilation and Lighting Prep: Open windows and set up fans for proper airflow. Adequate ventilation is essential, especially during chemical prep or pressure washing for surface prep. Ensure lighting is sufficient for visibility, especially in dim corners.
  • Isolate Adjacent Rooms if Needed: When using dust-generating tools, professionals may seal doorways with plastic sheeting and zipper barriers to prevent particles from spreading throughout the building.

Step 2: Clean the Surface

Wall cleaning is essential before any sanding, priming, or painting. Professionals use tailored solutions and tools to ensure every surface is free from contaminants that could interfere with paint adhesion. Each cleaning step is tailored to the surface condition and building use, ensuring a clean foundation that allows primers and paint to perform as intended.

  • Degrease High-Traffic or Kitchen Walls: Walls near cooking areas or HVAC vents often have invisible grease films. Degreasers or trisodium phosphate (TSP) solutions cut through buildup that plain soap can’t handle.
  • Treat Mold and Mildew Effectively: In bathrooms, basements, or damp environments, mildew is common. Professionals use mold-inhibiting agents or diluted bleach solutions to kill spores and prevent regrowth under the new finish.
  • Remove Dust and Cobwebs: Dry dusting with microfiber cloths or vacuum attachments removes lint, pet hair, and cobwebs, common in corners or along baseboards. This is especially important before using sanding tools.
  • Utilize Pressure Washing for Surface Prep (When Appropriate): For homes with significant residue, smoke damage, or textured walls, pressure washing for surface prep is employed. This removes embedded particles and prepares surfaces for deeper treatment. Eliminate mildew, oil, dust, dirt, loose rust, flaking paint, and other surface contaminants to promote strong paint adhesion.
  • Wipe Down with Damp Cloth or Sponge: Even after chemical cleaning, a final wipe with clean water neutralizes any residual cleaner and picks up fine dust. This step ensures no contaminants remain before drying.
  • Allow Full Dry Time: Walls must dry completely to avoid trapping moisture, which can lead to blistering paint. Professionals may use fans or dehumidifiers to speed up drying, especially after affordable surface cleaning and prep in humid environments.
  • Spot Check for Stains or Sap Bleed: If areas show staining or discoloration, these spots are flagged for stain-blocking primer application. Sometimes this step determines whether sandblasting surface preparation is required for stubborn contaminants.

Step 3: Inspect for Damage

A detailed inspection is essential before any surface smoothing or priming begins. Surface preparation services rely on precision tools to detect hidden and visible flaws that can affect paint quality.

  • Look for Cracks and Nail Holes: Small cracks or nail pops are flagged for patching. These can show through even multiple layers of paint if not treated properly.
  • Identify Dents and Uneven Areas: Dents caused by furniture bumps or general wear are often shallow but widespread. These are noted for skim coating or filler.
  • Check for Peeling or Chipping Paint: Loose or flaking paint is a red flag. It must be fully removed before painting, sometimes requiring sandblasting for surface preparation on larger problem areas.
  • Spot Signs of Moisture Intrusion: Water stains, bubbling, or soft drywall may indicate leaks. These must be addressed and fully dried before any patching or finishing.
  • Use Inspection Lights and Levels: Professionals scan walls with raking light (light at an angle) to highlight shadows from imperfections. Levels or straightedges detect bowed walls or bulging seams.
  • Document and Mark Problem Areas: Tape or pencil markings are used to clearly identify each flaw. This ensures no spot is missed during the next repair stage and allows for methodical professional surface prep.

Step 4: Repair and Patch

Once all defects are identified, surface preparation services begin restoration using techniques that ensure long-lasting, seamless results.

  • Fill Minor Holes with Spackle: Small nail holes or cracks are filled with quick-drying spackle. Professionals feather the material to blend into the wall surface.
  • Use Joint Compound for Larger Repairs: Dents, gouges, and larger holes are patched with joint compound. The edges are blended out several inches to create an invisible transition.
  • Reinforce Cracks with Mesh or Tape: Structural cracks or drywall seams are covered with fiberglass mesh or paper tape before applying compound to prevent future splitting.
  • Replace or Rebuild Damaged Drywall: Severely compromised drywall sections are cut out and replaced entirely. This ensures the surface beneath is strong and dry.
  • Allow Proper Drying Time: Compounds must dry fully, often 12–24 hours, before sanding. Using fans or dehumidifiers may help, especially after affordable surface cleaning and prep in humid spaces.
  • Verify Smoothness Before Proceeding: Once dry, all patched areas are examined under inspection lights again to confirm they’re flush with the surrounding surface.

Step 5: Sand the Walls

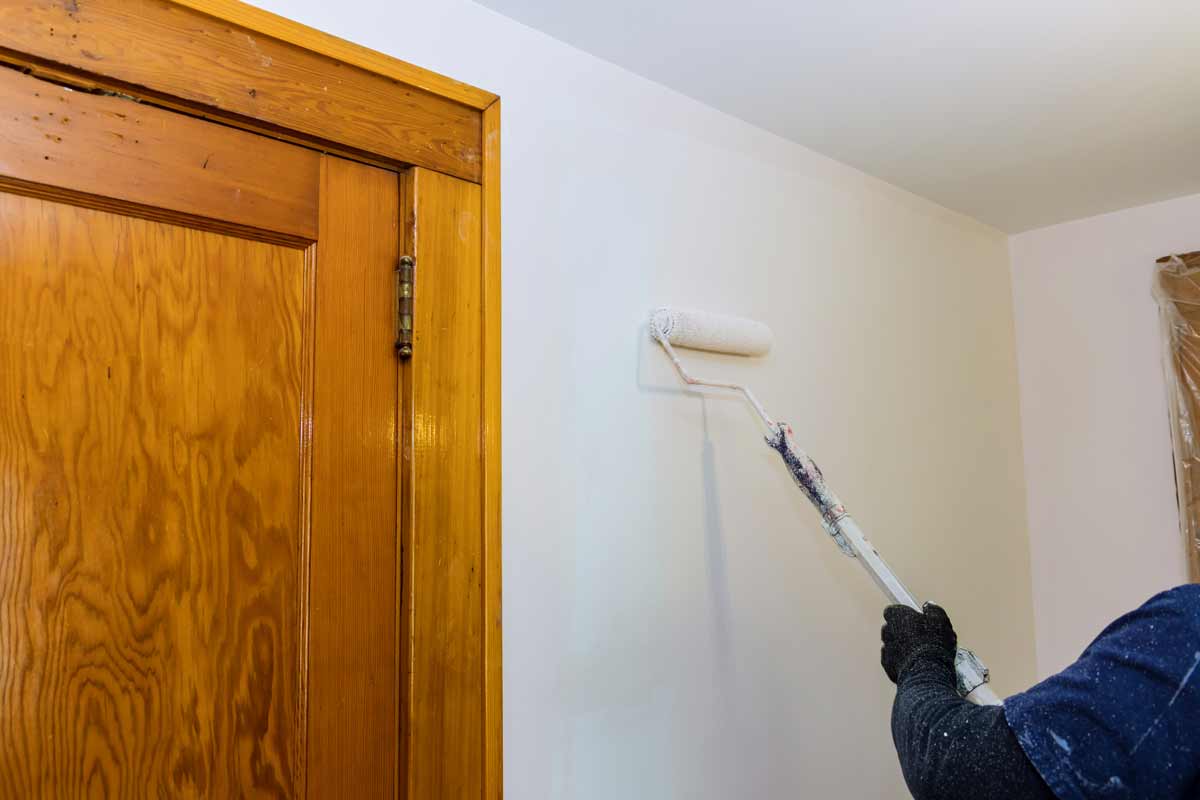
Sanding is a critical step that ensures the surface is smooth, paint-ready, and free of texture variations.

  • Use Sanding Blocks or Pole Sanders for Flat Areas: These tools help achieve a consistent finish across wide wall sections. Professionals use fine to medium grit depending on the repair depth.
  • Apply Orbital Sanders for Tougher Surfaces: In areas with prior texture, hardened compound, or glossy paint, orbital sanders provide even abrasion without gouging the surface.
  • Deploy Sandblasting Surface Preparation When Needed: In extreme cases, such as thick layers of old paint, smoke damage, or stubborn coatings, sandblasting surface preparation is used to remove everything down to the substrate.
  • Feather Edges Around Repair Zones: Sanding doesn’t just level patches—it feathers the surrounding paint to blend transitions so the repaired area disappears under new paint.
  • Clean Residue with Tack Cloth or HEPA Vacuum: Fine dust is removed using a tack cloth or vacuum system. Leaving dust behind will prevent primer and paint from bonding correctly.
  • Inspect Again Under Light: Before moving on, professional surface prep crews reinspect for ridges, dips, or leftover texture. This final check avoids imperfections showing through after painting.

Apply Primer

Step 6: Apply Primer

Priming is one of the most crucial steps in professional surface prep. It seals the surface, balances absorption, and ensures that the topcoat adheres uniformly across all areas, especially where repairs were made.

  • Seal Repaired and Porous Areas: Primer fills microscopic gaps and stabilizes surface porosity. Without it, patched areas may absorb paint unevenly, creating visible blotches or flashing.
  • Choose Primer Based on Surface Conditions: Surface preparation services evaluate the specific needs of the wall before selecting a primer:
    • For porous drywall: High-build or drywall primer evens out absorption.
    • For moisture-prone areas: Mold-resistant primers are applied in bathrooms, basements, or kitchens.
    • For stained surfaces: Stain-blocking primers hide water marks, smoke damage, or discoloration.
    • For glossy walls: Bonding primers help new paint grip to previously sealed surfaces like enamel or oil-based paints.
  • Use Rollers for Smooth Coverage: On large wall areas, professionals use rollers with the appropriate nap length to apply an even coat without lap marks or roller lines.
  • Apply Sprayers for Complex or Textured Surfaces: Airless sprayers are used for quick, uniform application, especially in rooms with textured walls, trim, or difficult-to-reach corners.
  • Control Environment for Best Drying: Temperature and humidity are monitored closely. Excess moisture can cause poor adhesion or extended dry times. Dehumidifiers or HVAC systems are sometimes used to control conditions after pressure washing for surface prep or other wet methods.
  • Allow Full Cure Time Before Topcoat: Unlike paint, primer isn’t just about color coverage—it needs time to bond with the surface. Professionals follow manufacturer’s cure times to ensure it sets properly before painting begins.
  • Inspect for Uneven Absorption: After drying, surfaces are inspected for dull or shiny patches. These indicate absorption differences and may require a second coat, something surface preparation services often anticipate during prep planning.

Step 7: Final Check

The final walkthrough ensures the wall is completely paint-ready. This detailed inspection is where professional surface prep distinguishes itself from DIY jobs.

  • Test Surface Smoothness Manually: Team members run their hands over the walls to feel for tiny bumps, ridges, or tool marks that might not be visible under normal lighting.
  • Use Raking Light for Visual Inspection: Angled lighting highlights surface imperfections like uneven joint compound or leftover sanding marks, allowing for precision touch-ups.
  • Spot-Treat Missed Flaws Immediately: Any minor dents or scratches discovered during the final check are re-patched, sanded, and re-primed as needed.
  • Double-Check Tape and Floor Coverings: Protective materials are inspected to ensure they’re still secure and properly positioned, especially important after affordable surface cleaning and prep in multi-day jobs.
  • Ensure Ventilation and Lighting for the Paint Phase: Airflow and lighting are optimized to maintain a clean and well-lit environment during painting. Dust-generating equipment is cleared to avoid contamination.
  • Confirm Readiness with Client or Supervisor: Many surface preparation services conclude with a walkthrough involving the client or site supervisor. This ensures expectations are met before paint is applied.

When to Hire Professional Surface Preparation Services

Not every project requires a DIY approach. In fact, there are numerous scenarios where surface preparation services from professional providers like Westport Professional House Painters in Westport, CT, offer the most value:

1. Complex Surface Conditions

Old plaster, uneven drywall, or textured walls may require more than just sanding. In these cases, sandblasting surface preparation or mechanical leveling may be needed to reset the surface.

2. Water or Mold Damage

Mold remediation and moisture treatment require specific tools and safety protocols. Professionals can isolate the source and repair the damage while preventing future issues.

3. Lead-Based Paint or Asbestos

In older homes, outdated materials may pose health risks. Certified surface preparation services know how to handle and dispose of these hazards legally and safely.

4. High-Value Projects

If you’re painting high-end interiors or preparing a property for resale, hiring professional surface prep like Westport Professional House Painter ensures results that meet luxury standards.

5. Time-Sensitive Renovations

Homeowners and contractors alike turn to affordable surface cleaning and prep providers to stay on schedule without sacrificing quality.

6. Commercial or Large-Scale Projects

Painting an office, retail space, or multi-unit property requires coordination, speed, and quality assurance—all of which surface preparation services provide.

Frequently Asked Questions

What is the surface preparation process?

The surface preparation process involves cleaning, inspecting, repairing, sanding, and priming walls before painting. It ensures the surface is smooth, dry, and ready for paint to adhere properly. Professional surface prep may also include pressure washing or sandblasting for optimal results.

How do you paint interior walls step by step?

First, clear and protect the area, then clean the walls to remove dust and residue. Next, repair any damage, sand the surface smooth, and apply primer. Once dry, apply paint in even coats using a roller or brush, allowing proper drying time between each.

What happens if you don’t sand before painting?

Skipping sanding can lead to poor paint adhesion, causing peeling or uneven coverage. Rough spots and repaired areas may show through the paint finish. Sanding creates a uniform texture that helps primer and paint bond effectively.

Do professional painters wash walls before painting?

Yes, professional painters clean walls to remove grease, dust, and contaminants. This step is essential for achieving a long-lasting and smooth paint job. Cleaning methods vary, from simple wiping to pressure washing for surface prep.

Which comes first, putty or primer?

Putty comes before primer in the painting process. It is used to fill holes, cracks, and imperfections to create an even surface. Once the putty is dry and sanded, primer is applied to seal the surface and prepare it for paint.

Ready for Flawless Walls? Call the Experts Today! 

Don’t leave your next painting project to chance—trust the experienced team at Westport Professional House Painters for meticulous surface preparation and premium results. Whether you’re renovating your home or refreshing a single room, our team in Westport, CT, is equipped with the tools and expertise to get it done right. From pressure washing to sanding and priming, Westport Professional House Painters delivers superior service every step of the way.

Contact us today!