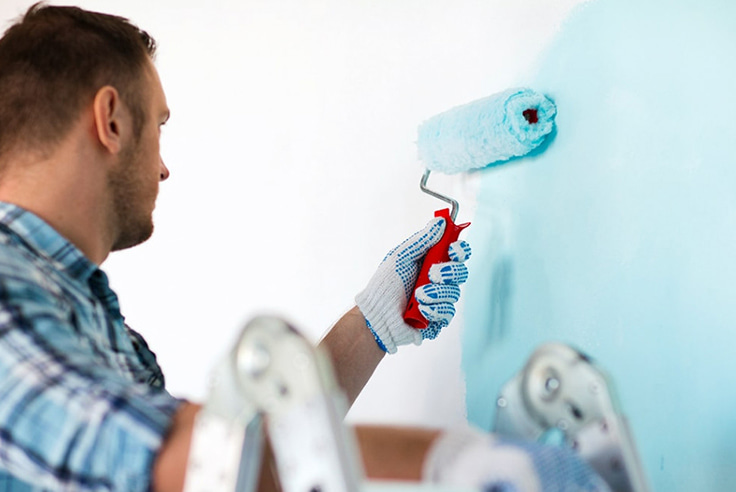
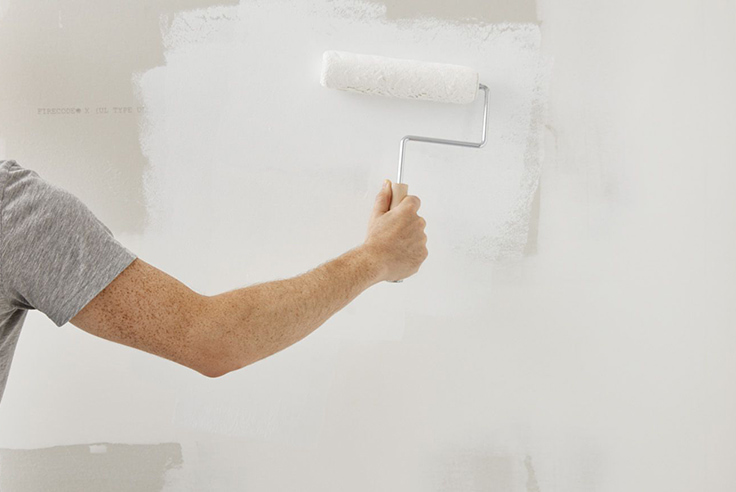
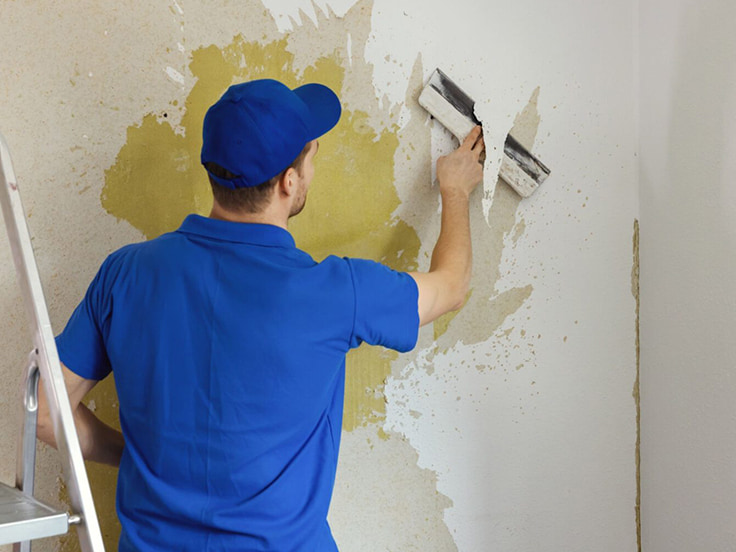
Google Reviews

Free Estimates Here

Scrape Peeling Paint Before Repainting

What Happens If You Don’t Scrape Peeling Paint Before Repainting?

Skipping prep work might seem like a shortcut, but when it comes to painting, it can backfire fast. Peeling paint left underneath a new coat doesn’t just ruin the look—it weakens adhesion, shortens the life of the finish, and invites moisture damage. Whether it’s a living room wall or an exterior surface, ignoring proper surface preparation for painting leads to costly do-overs.

Here are five key reasons why scraping peeling paint is a step that should never be skipped.

Table of Contents

Key Takeaways

Paint won’t stick to loose surfaces, leading to early peeling and wasted effort. Peeling paint shows through new coats, making walls look uneven and poorly finished. Moisture can seep behind unsealed layers, causing mold, bubbling, and long-term damage. A paint job without proper prep won’t last and will need to be redone sooner. Skipping scraping and sealing ends up costing more in materials and labor over time. Identifying early signs like bubbling, cracks, or discoloration helps stop peeling before it spreads. Scraping, cleaning, sealing, and priming are all essential steps in surface preparation for painting.
Paint Won’t Stick to Loose Surfaces

1. Paint Won’t Stick to Loose Surfaces

Peeling paint creates an unstable base that fresh paint can’t properly bond to. Instead of sealing to the wall, the new layer clings to old flakes—which eventually fall off. This results in a patchy, short-lived finish that looks worse over time.

How Loose Paint Ruins the Job From the Start

  • Poor Surface Grip Leads to Early Failure: Fresh paint needs a solid, smooth surface to grip. Without proper surface preparation for painting, the new layer can start bubbling, cracking, or peeling within weeks.
  • Skipping Scraping Affects Priming Before Painting: Primer is designed to bond with the wall, not loose debris. If peeling paint remains, the primer doesn’t absorb properly, making both the primer and paint less effective.
  • Cleaning Surfaces Before Painting Loses Value: Even with thorough washing, dirt isn’t the only issue—old, curling paint acts like a barrier. Without removing it first, cleaning and sealing walls before painting won’t stop future flaking.

2. Peeling Paint Shows Through the New Coat

Even after multiple layers of fresh paint, peeling and uneven textures underneath will still be visible. These flaws don’t just affect how the surface looks—they also weaken the overall finish and reduce long-term durability. Skipping surface preparation for painting leaves behind bumps, cracks, and shadow lines that no amount of paint can fully cover.

Why Old Flaws Always Come Back to Haunt

  • Uneven Surfaces Reflect Light Differently: Paint applied over peeling or flaking spots dries with a blotchy, uneven sheen. This happens because light hits smooth areas differently than damaged ones, drawing attention to imperfections.
  • Prepping Exterior vs. Interior Walls Matters: Interior walls might hide flaws under dim light, but outdoor surfaces face sunlight daily, which magnifies every defect. Proper prepping exterior vs. interior walls helps prevent these visual issues before they start.
  • Priming Before Painting Can’t Hide Damage Alone: Primer improves adhesion and coverage, but it can’t flatten raised flakes or cover deep cracks. Without scraping and sanding first, even the best primer leaves behind telltale signs of poor prep.

3. Moisture and Mold Can Seep Behind Unsealed Layers

Old, peeling paint allows moisture to sneak behind the surface, creating the perfect environment for mold and mildew. This is especially risky for exterior walls and high-humidity interior spaces like bathrooms or basements. Ignoring the need for cleaning surfaces before painting and sealing walls before painting can cause serious long-term damage.

How Moisture Turns Into a Bigger Problem

  • Trapped Moisture Causes Paint to Bubble: When water gets trapped beneath peeling layers, it pushes up through the fresh paint. This creates bubbles that eventually burst, making the new coat look just as bad as the old one.
  • Sealing Walls Before Painting Adds Protection: A high-quality sealer forms a barrier that locks out humidity. Without this step, moisture keeps working its way into the walls, especially in homes without proper ventilation.
  • Cleaning Surfaces Before Painting Removes Mold Spores: Peeling paint often hides early mold growth, especially near windows or plumbing. Thorough cleaning before repainting helps stop mold from spreading under the new finish.

4. The Paint Job Won’t Last Long

A rushed paint job might look fine for a few weeks, but it won’t hold up over time if the surface isn’t properly prepped. Without scraping, sanding, priming, and sealing, the finish will crack, peel, or fade much faster than it should. Strong surface preparation for painting plays a major role in how well a project stands up to daily wear.

Why Skipping Prep Means More Repainting Later

  • Lack of Surface Prep Reduces Lifespan: Paint that adheres poorly starts breaking down after just a few months. A solid surface preparation for painting—complete with priming before painting—helps prevent that breakdown.
  • Prepping Exterior vs. Interior Walls Extends Longevity: Exterior walls deal with rain, wind, and sun, while interior walls take hits from daily life—furniture bumps, kids, pets. Each type needs different prepping methods to stay in good shape.
  • Sealing Walls Before Painting Blocks Future Damage: Sealers help keep moisture and stains from penetrating the surface. Skipping this step leaves fresh paint vulnerable to every spill, splash, or storm.

5. Repainting Without Scraping Costs More in the Long Run

What seems like a shortcut ends up as a costly mistake. When paint starts peeling again—or mold develops underneath—the only fix is to repaint, which means buying more supplies and paying for more labor. Investing time into surface preparation for painting saves money by reducing how often repainting is needed.

How Cutting Corners Hits the Wallet

  • Redoing the Job Doubles the Expense: A botched paint job needs redoing far sooner than expected, wasting both paint and time. A few hours of scraping and sealing walls before painting prevents that expense.
  • Priming Before Painting Cuts Paint Use: A well-primed surface requires fewer topcoats to achieve full coverage. Skipping primer leads to more gallons of paint and more time spent layering it on.
  • Cleaning Surfaces Before Painting Helps Products Work Better: Dirty, greasy, or dusty surfaces make both primer and paint less effective. Taking time to clean thoroughly ensures every product sticks and performs as it should.
Cleaning Surfaces Before Painting

How to Identify Peeling Paint Before It Gets Worse

Catching peeling paint early can save time, money, and frustration. Whether prepping exterior vs. interior walls, early signs of failure often show up long before the paint starts falling off in chunks. Knowing what to look for—and where—makes surface preparation for painting far more effective.

1. Look for Hairline Cracks in the Paint Surface

Tiny cracks that resemble spiderwebs often appear before larger flakes break loose. These hairline fractures signal that the bond between the paint and wall is starting to weaken. Spotting them early allows for proper cleaning surfaces before painting and prevents deeper peeling.

2. Check for Bubbling or Blistering Under the Paint

Bubbles usually form when moisture gets trapped beneath the surface, especially on exterior walls. These raised areas might still be intact, but they will eventually burst and peel away. This is a clear sign that sealing walls before painting is essential for moisture protection.

3. Run a Hand Along the Surface to Feel for Rough Patches

A smooth wall should feel even from top to bottom—peeling areas often feel rough, gritty, or flaky. Lightly pressing a palm against the wall can reveal hidden damage before it’s visible. This is especially useful when prepping exterior vs. interior walls with varying textures.

4. Use Painter’s Tape to Test Paint Adhesion

Stick a piece of painter’s tape firmly onto the wall and pull it off quickly. If paint comes off with it, that section is already failing and needs surface preparation for painting before any repainting can begin. This trick works well on both older interior rooms and sun-exposed exterior walls.

5. Inspect High-Humidity Zones for Paint Discoloration

Bathrooms, kitchens, and basements often show early signs of trouble through color shifts or dull spots. These changes usually mean moisture is getting behind the paint and breaking down the surface. Cleaning surfaces before painting and sealing walls before painting are crucial in these areas.

6. Watch for Peeling at Seams, Corners, and Trim Edges

Paint tends to fail first where walls meet ceilings, windows, or trim—areas prone to movement and moisture. Peeling in these spots can spread fast if not addressed during surface preparation for painting. These edge zones should always be closely checked when priming before painting begins.

How to Scrape and Prepare a Wall the Right Way

Rushing through paint prep often leads to peeling, cracking, and costly rework—especially considering the average cost to paint a house exterior is $3,178. Proper surface preparation for painting starts with removing loose paint and treating the wall so new layers stick and last. Whether prepping exterior vs. interior walls, each surface needs care, the right tools, and attention to detail.

1. Start with a Visual Inspection and Mark Problem Areas

Before scraping begins, walk the entire space and identify peeling, cracked, or blistered sections. Mark trouble spots with painter’s tape or chalk for efficient work later. This step is essential when prepping exterior vs. interior walls, as damage is often more widespread outdoors.

2. Use the Right Scraping Tool for the Surface

A stiff putty knife or metal scraper works well for flat walls, while a wire brush helps remove loose paint in textured areas. On wood siding or trim, use an angled scraper to avoid gouging. Choosing the right tool prevents damage and ensures smooth surface preparation for painting.

3. Sand the Edges of Remaining Paint

After scraping, leftover paint edges will often stick up—sanding them down creates a seamless transition. Use medium-grit sandpaper (like 120 grit) to feather the area until it’s flush with the surface. This step helps primer adhere evenly when priming before painting.

4. Wash the Wall to Remove Dust and Residue

Scraping and sanding leave behind fine dust, oils, and sometimes mildew. Cleaning surfaces before painting is crucial for paint to bond properly and prevents issues like bubbling or streaking. A mix of warm water and mild detergent works well; rinse and let dry completely.

5. Apply Sealer to Protect Against Moisture and Stains

Sealing walls before painting strengthens the base and blocks water from entering. Use a water-based sealer for interior walls and a weather-resistant option for exteriors. Sealing also helps reduce how much primer and paint are needed later.

6. Finish With a Primer That Matches the Paint Type

Priming before painting locks down the surface and helps paint go on smoother and last longer. Choose a primer that matches the topcoat—latex with latex, oil with oil—for best results. Don’t skip this step, especially when prepping exterior vs. interior walls with different exposure levels.

Choosing the Right Primer and Sealer for the Job

Primer and sealer are not one-size-fits-all—the right combination depends on the surface, location, and type of paint being used. With product purchase incidence of paint and sundries reaching a record 61% in 2021, up from 53% in 2019, choosing the right prep materials has never been more important. From prepping exterior vs. interior walls to sealing walls before painting, each decision plays a role in how well the finish holds up over time.

1. Match Primer Type to the Paint Formula

Always pair water-based (latex) primer with latex paint and oil-based primer with oil-based paint. Mixing formulas can cause peeling or poor adhesion, especially if surface preparation for painting wasn’t thorough. Priming before painting with the right match ensures smooth, even coverage that lasts.

2. Use Stain-Blocking Primer for Problem Areas

For water stains, smoke damage, or marker bleed-through, a standard primer won’t cut it. Stain-blocking primers are specially designed to seal in discoloration so it doesn’t show through the new coat. Cleaning surfaces before painting won’t remove all stains, but stain-blocking primers help hide what’s left.

3. Choose a Bonding Primer for Glossy or Hard Surfaces

High-gloss paint, tile, and laminate resist new paint without extra help. A bonding primer chemically grips slick surfaces and allows fresh paint to adhere. This step is key when surface preparation for painting includes sanding but still leaves some gloss behind.

4. Select Moisture-Resistant Primer for High-Humidity Areas

Bathrooms, basements, and kitchens benefit from primers made to block humidity and mildew. These primers help stop peeling by adding a moisture barrier under the topcoat. Sealing walls before painting in damp zones is important, but pairing it with the right primer gives added protection.

5. Use Masonry or Exterior Primer for Outdoor Surfaces

Exterior primers are made to expand and contract with weather changes and bond better to materials like brick, stucco, or siding. Prepping exterior vs. interior walls means dealing with sun, rain, and temperature swings—outdoor primers help paint hold up in these harsh conditions. Skipping this step often leads to cracking and flaking.

6. Apply a Sealer on New, Porous, or Previously Damaged Walls

Fresh drywall, patched areas, and raw wood soak up paint unevenly without a proper sealer. Sealing walls before painting helps create a uniform surface so fewer topcoats are needed. This is a vital part of surface preparation for painting when dealing with porous materials or repaired damage. Primer Be Tinted To Match The Paint Color

Frequently Asked Questions (FAQs)

Can primer be tinted to match the paint color?

Yes, most primers can be tinted to closely match the final paint color. This makes it easier to achieve full coverage with fewer topcoats. Tinted priming before painting is especially useful when going from a dark color to a lighter one. It improves the efficiency of surface preparation for painting and results in a more consistent finish.

Should textured walls be prepped differently than smooth walls?

Yes, textured surfaces need more detailed work during surface preparation for painting. Dust and debris can hide in grooves, so cleaning surfaces before painting becomes even more important. Textured walls may also need thicker primers to fill uneven spots. Sealing walls before painting can help smooth over light texture and improve paint adhesion.

How long should a wall dry after washing before painting begins?

After cleaning surfaces before painting, walls should dry for at least 24 hours. Moisture trapped beneath paint can lead to bubbling and poor adhesion. This drying time is critical whether prepping exterior vs. interior walls, especially in humid conditions. Skipping the wait may undo even the best surface preparation for painting.

Is sanding always required before priming or painting?

Sanding isn’t always necessary, but it greatly improves surface preparation for painting when dealing with glossy or uneven surfaces. It helps primer and paint grip better, especially in high-traffic areas. For prepping exterior vs. interior walls, sanding is more common indoors, while power washing often replaces it outdoors. Even light sanding before sealing walls before painting can prevent future peeling.

What happens if a sealer is applied over dirty walls?

Applying a sealer to a dirty surface traps dust, grease, and mildew under the new layers. This leads to poor adhesion and can cause paint to peel or bubble prematurely. Cleaning surfaces before painting is a non-negotiable step, even when sealing walls before painting. The effectiveness of sealers and primers depends heavily on a clean, dry, and stable surface.

Bring Color to Life with Westport Professional House Painters!

Trust the Westport Professional House Painters team to deliver clean lines, vibrant finishes, and long-lasting results on every project. From meticulous surface preparation for painting to expert priming and sealing walls before painting, our crew takes pride in getting every detail right—indoors and out. Whether refreshing a single room or tackling the entire exterior, we bring craftsmanship, care, and a deep knowledge of prepping exterior vs. interior walls. For professional painting in Westport, CT, that looks sharp and lasts, Westport Professional House Painters is the name locals trust. Contact us today!