
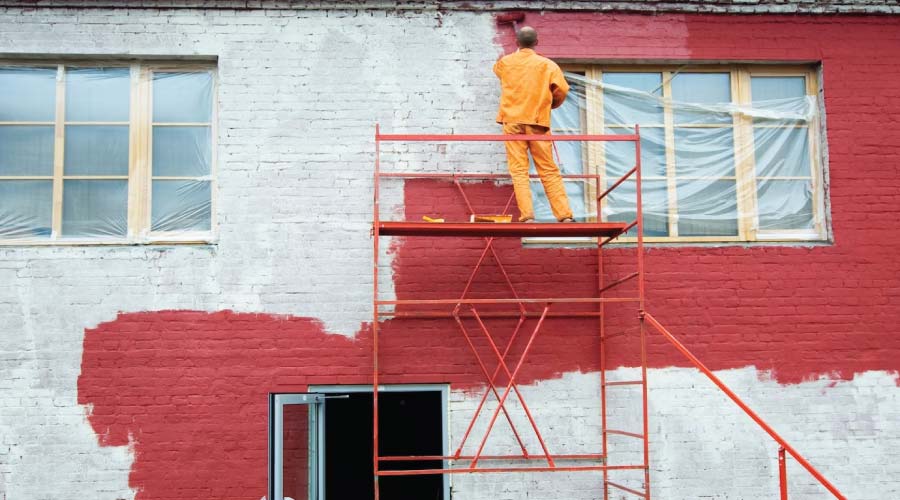
In today’s fast-paced world, having a well-designed home office is crucial for maximizing productivity and achieving professional success. Creating an environment that inspires creativity, fosters focus and enhances motivation can significantly impact your work performance. That’s where house painters in Milford come in. With their expertise and transformative painting ideas, they can turn your ordinary home office into a productive haven. In this blog, we will explore the power of color, discuss various painting techniques, and showcase the remarkable work of house painters in Milford in crafting personalized home office spaces that fuel success.
When preparing walls for painting, it’s important to understand the surfaces you may encounter comprehensively. Different materials like drywall, plaster, wood paneling, brick, concrete, or textured surfaces require specific techniques and materials for optimal results. Here’s a breakdown of key points to consider:
Drywall is an affordable and easy-to-install wall material with a gypsum core covered with paper. When preparing drywall surfaces for painting, it’s important to thoroughly inspect for any cracks, holes, or water damage. Address these imperfections by using spackling or joint compound to fill and repair them, ensuring a seamless and smooth finish. Once the repairs are complete, sand the surface to achieve a uniform texture that will provide an ideal canvas for painting. Milford’s house painters understand the specific requirements of drywall surfaces and can ensure a professional finish.
Plaster walls are commonly found in older buildings and offer durability and a unique aesthetic appeal. When dealing with plaster surfaces, a comprehensive assessment is essential to identify any cracks, crumbling sections, or loose plaster. Minor cracks can be repaired using patching plaster or joint compound, while plaster washers help secure loose areas back in place. Gentle sanding is recommended to achieve a consistent texture across the repaired areas. Milford’s house painters have expertise in handling plaster surfaces and can effectively restore and prepare them for painting.
Besides drywall and plaster, various wall materials require specific preparation techniques. Whether you’re dealing with wood paneling, brick, concrete, or textured surfaces, thorough cleaning, filling of cracks or gaps, and priming is necessary for proper paint adhesion. Each material may have unique characteristics and challenges. Milford’s house painters have the expertise and knowledge to employ the appropriate techniques for optimal results.
A thorough assessment of the surface condition is crucial before embarking on any wall preparation. This assessment involves carefully inspecting the walls for moisture damage, mold, mildew, or other issues requiring specialized treatment. Ensuring the surface is clean and free from contaminants such as dust, dirt, or grease is essential for achieving a long-lasting and flawless paint job. Additionally, addressing structural issues like unevenness or protrusions is important to create a smooth and even surface for painting.
To effectively prepare the walls, it is necessary to gather the appropriate materials and tools based on the specific wall surface and its condition. This includes having spackling or joint compound, patching plaster, plaster washers, the sandpaper of different grits, scrapers, brushes, rollers, primers, and other relevant supplies. High-quality products and tools ensure better durability, adhesion, and a professional finish. Milford’s house painters are well-equipped with the materials and tools to handle different wall surfaces with precision and expertise.
In cases where you need clarification about the type of wall surface or encounter significant issues during the assessment, seeking professional assistance is recommended. Milford’s house painters have the experience and knowledge to deal with complex surfaces. They can provide valuable guidance and recommendations for the best course of action. Their expertise ensures that the wall preparation process is executed efficiently and with attention to detail, resulting in a beautifully painted and well-prepared surface.
By seeking the expertise of experienced house painters in Milford, CT, who possess a deep understanding of different wall surfaces and are skilled in assessing their conditions, you can effectively prepare them for painting. They will address any underlying issues and employ appropriate techniques and materials tailored to each surface, ensuring a smoother, more durable, and visually appealing finish that surpasses your expectations.
Gathering the right tools and materials, recommended by professional house painters in Milford, CT, is essential to achieve professional-grade results in wall preparation. Having the appropriate equipment, guided by their expertise, will ensure a smoother and more efficient process, leading to exceptional outcomes. Here are some essential tools and materials to consider based on their recommendations:
Prepare yourself with sandpaper of different grits (coarse, medium, fine) recommended by professional house painters in Milford, CT, to smooth surfaces and remove imperfections effectively. Obtain various sizes of putty knives or scrapers, as advised by experts, to expertly fill cracks, remove old paint, and apply compounds. Additionally, invest in high-quality brushes and rollers, recommended by trusted house painters in Milford, CT, to ensure seamless and professional application of paint, primer, or other coatings.
Acquire specific primers for different wall surfaces, such as drywall, plaster, or stain-blocking primers. Get a spackling or joint compound to repair cracks, holes, and other surface imperfections. Silicone or acrylic caulk will be essential for sealing gaps between trim, baseboards, and walls. If you’re working with plaster surfaces, obtain patching plaster to repair and achieve a consistent texture. Remember metal plaster washers for securing loose plaster sections to the underlying structure.
To prioritize your safety, follow the recommendations of professional house painters in Milford, CT. Wear protective gloves to shield your hands from chemicals, abrasives, or sharp tools. As experts recommend, safeguard your eyes by wearing safety goggles to protect against dust, debris, or potential chemical splashes. Additionally, trusted house painters in Milford advise using a respirator or dust mask to prevent inhaling dust particles or fumes during wall preparation. By taking these preventive measures, you can ensure a safe and comfortable working environment for your project.
Equip yourself with a sharp utility knife for cutting and scoring materials like drywall or tape. Use a vacuum cleaner or dust brush to remove dust and debris from the walls and surrounding areas. Invest in heavy-duty drop cloths or plastic sheets to protect floors and furniture from paint splatters or debris.
Invest in high-quality paints, primers, fillers, and other materials to achieve better adhesion, durability, and a professional finish. Choosing reliable products will enhance the overall outcome of your wall preparation and painting project.
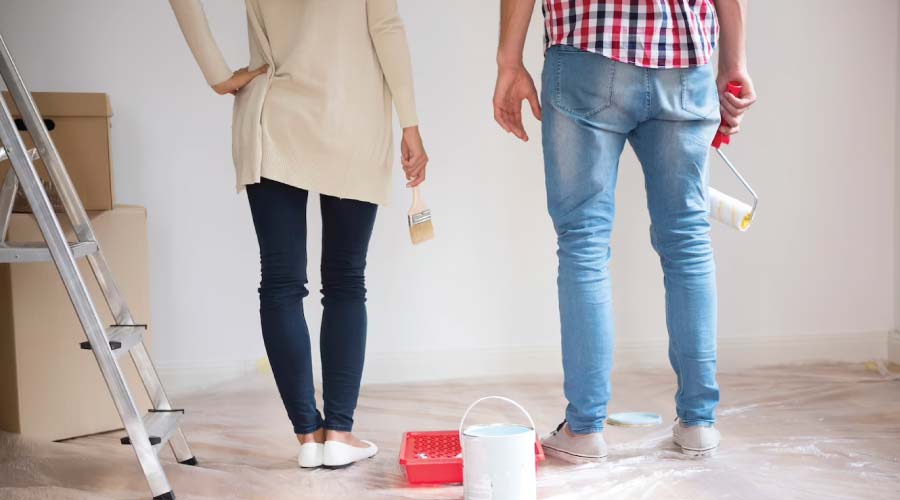
Creating an unobstructed and safe workspace is crucial before embarking on the exciting journey of preparing your walls for painting. Start by clearing the room of furniture, fixtures, and any other objects that may hinder your access to the walls. This allows you to work efficiently and minimizes the risk of accidental damage to your belongings.
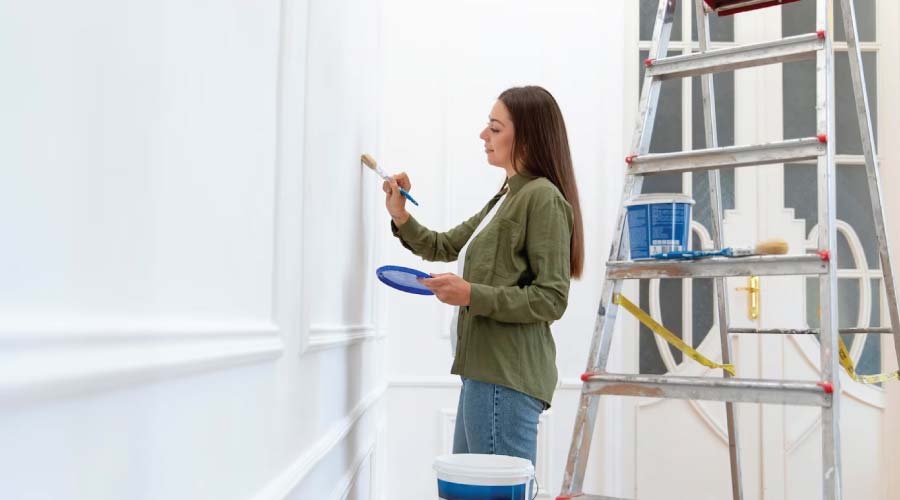
Furthermore, when working on your painting project with the assistance of professional house painters in Milford, CT, it is crucial to prioritize the protection of surrounding surfaces. This ensures that paint splatters and dust are prevented from settling where they shouldn’t. Experts recommend high-quality drop cloths, plastic sheets, or painter’s tape to effectively cover floors, windows, light fixtures, and other vulnerable areas.
Cleaning the walls is crucial in the wall preparation process, ensuring a solid foundation for a flawless paint job. Here are some key points to consider:
Begin the wall preparation process by thoroughly dusting the walls, following the guidance of professional house painters in Milford, CT. Utilize a duster or a microfiber cloth to effectively remove loose dirt, cobwebs, and debris that may have accumulated over time. Pay close attention to corners, ceiling lines, and baseboards, ensuring that these areas are thoroughly cleaned. This meticulous step creates a clean canvas for the subsequent wall preparation procedures, guaranteeing optimal paint adhesion and a polished finish.
Utilize the expertise of house painters in Milford, CT, and employ a vacuum cleaner with a brush attachment to remove any lingering dust particles from the walls. This thorough cleaning ensures a pristine surface and eliminates dust that could later interfere with paint adhesion. Be meticulous in your vacuuming technique. Pay close attention to corners, crevices, and baseboards to thoroughly clean every nook and cranny.
For stubborn stains or greasy areas on the walls, it’s necessary to utilize appropriate cleaning agents. Mild soap diluted in warm water or a mixture of warm water and vinegar can effectively remove most stains. Gently scrub the surface with a sponge or soft brush, focusing on the affected areas. Rinse the walls with clean water and ensure they are thoroughly dry before proceeding.
Allow the walls to dry completely, following the advice of experienced house painters in Milford, CT, after cleaning. Providing adequate drying time is crucial as it ensures the walls are moisture-free. This step is essential to maintain optimal paint adhesion, prevent uneven drying, and avoid potential damage to the painted surface.
Achieving a smooth and flawless paint finish starts with addressing any existing wall imperfections. Here are the key steps to follow:
With the guidance of house painters in Milford, CT, carefully inspect the walls, keenly identifying any cracks, holes, or other imperfections that require repair. Pay close attention to areas where these issues are visible or could affect the overall appearance of the painted surface.
Under the guidance of professional house painters in Milford, CT, use a suitable filler recommended for your specific needs, such as spackling or joint compound, to effectively fill in the cracks and holes. Apply the filler using a putty knife, expertly spreading it evenly and leveling it with the surrounding wall surface. Meticulously work the filler into the imperfections, smoothing it out as much as possible for a seamless finish.
After the filler, recommended by professional house painters in Milford, has completely dried, achieving a seamless blend between the repaired areas and the rest of the wall surface is crucial. With the assistance of sandpaper, carefully selected based on the guidance of experts, gently sand the filled areas.
After sanding, follow the expert advice of house painters in Milford, CT, and use a clean cloth to thoroughly wipe away any dust or debris that may have accumulated on the surface. This important step ensures that the wall is clean and free from any particles that could affect the paint’s adhesion during the subsequent painting process.
Sanding is vital in achieving a smooth and even texture on your walls, creating an ideal surface for paint application. Here are the key steps to follow:
Start by selecting the appropriate sandpaper grit based on your specific wall surface and the extent of imperfections. Fine-grit sandpaper (around 120 to 150) may be sufficient for minor flaws. However, you may need a coarser grit (around 80 to 100) for more significant flaws or rough surfaces to achieve the desired results.
Using a sanding block or pole, gently sand the walls in a circular or back-and-forth motion. Apply light pressure and let the sandpaper do the work. Focus on areas where repairs have been made, ensuring seamless integration with the surrounding wall. Be careful not to over sand, as it can damage the wall surface.
Regularly check your progress by running your hand over the sanded surface. This tactile examination allows you to feel any remaining rough patches or unevenness. Continue sanding until the wall surface feels smooth and consistent to the touch.
Remaining dust from the walls is essential after sanding. Use a clean cloth or a vacuum cleaner with a brush attachment to eliminate all the sanding dust. This step is crucial to create a clean surface for the paint to adhere to effectively.
Priming the walls is a crucial preparatory step that enhances your paint job’s overall quality and longevity. Here are the key steps to follow:
Depending on the material, choose a primer specifically designed for your wall surface, such as a drywall primer, plaster primer, or masonry primer. The primer acts as a bonding agent, improving paint adhesion and ensuring a consistent finish.
Prepare the primer according to the manufacturer’s instructions provided by trusted house painters in Milford, CT. Stir the primer thoroughly to ensure an even consistency. Apply the primer evenly using a brush or roller, ensuring complete wall surface coverage. Start from the top and work down, maintaining a wet edge to avoid visible brush or roller marks. Take care to cover any repaired areas or imperfections thoroughly.
Allow the primer to dry completely before proceeding to the next step. Follow the manufacturer’s instructions regarding the drying time. Remember that humidity and temperature can affect drying times, so ensure proper ventilation to facilitate the drying process.
Priming offers several benefits for your paint job. It improves paint adhesion, allowing it to adhere more effectively to the wall surface. This results in a longer-lasting finish. Priming enhances color consistency, ensuring the final paint color appears vibrant and true to its intended shade. Additionally, a primer can help conceal previous paint colors or repairs, creating a uniform and professional-looking surface.
By applying a high-quality primer recommended by professional house painters in Milford, CT, you create a solid foundation for your paint and significantly enhance the durability and longevity of the finish.
Caulking gaps and seams and using painter’s tape are essential to achieving a clean and professional-looking paint job. Here are the key points to consider:
Use a high-quality caulk suitable for your wall surface, recommended by professional house painters in Milford, CT, to fill gaps between walls, ceilings, and trim. Apply a thin bead of caulk along the gaps or seams, ensuring a smooth and even application. Utilize a caulk smoothing tool or your finger, following the guidance of expert house painters, to achieve a seamless blend with the surrounding surfaces. Afterward, wipe away excess caulk with a damp cloth, removing any residue that may interfere with the paint application. Allow the caulk to dry completely. This meticulous step ensures a neat appearance and prevents the paint from seeping into unwanted areas.
Caulking helps create clean and seamless lines, enhancing the overall aesthetic of your paint job. By sealing gaps, you achieve a professional finish and prevent paint from infiltrating areas where it is not intended to go. Caulking also helps improve energy efficiency by reducing drafts or air leaks around windows, doors, and baseboards.
Using painter’s tape, carefully tape off edges, trim, and any areas you want to protect from paint. This step ensures sharp and defined lines, preventing paint bleed and creating a crisp boundary between surfaces. Take your time to apply the tape accurately, ensuring it adheres firmly to the surface. Press down on the edges of the tape to ensure a secure seal.
When applying the painter’s tape, pay close attention to detail, relying on the expertise of house painters in Milford, CT, to ensure that it follows the desired lines and contours accurately. Take extra care around corners and edges, exercising precision to achieve precise boundaries. This meticulous step, carried out with the guidance of professionals, guarantees a professional-looking finish that showcases clean and crisp edges, elevating the overall aesthetic appeal of your paint job.
Before starting the painting process, conducting a thorough final inspection of the walls is essential. Here are the key points to consider:
Carefully examine the entire wall surface for missed imperfections, uneven areas, or spots requiring additional touch-ups. Take note of any visible flaws, such as small cracks or areas with inconsistent texture. This inspection ensures that the walls are ready for painting and helps identify any last-minute adjustments needed.
Address any identified imperfections promptly by applying additional filler, sanding, or priming as necessary. Fill in any remaining cracks or holes with the appropriate filler and ensure a smooth and seamless integration with the surrounding wall. Sand the filled areas to achieve a consistent texture. Add additional primer to areas that require better coverage or adhesion if needed.
Take the time to correct any minor imperfections that may affect the final outcome of the paint job. This may include smoothing rough spots, fixing uneven areas, or addressing visual discrepancies. Pay close attention to corners, edges, and transitions between different surfaces to ensure a seamless and professional finish.
Once the touch-ups are complete, perform a final wipe-down of the walls to remove dust or debris. Use a clean, damp cloth or sponge to gently wipe the surface, ensuring it is free from any residue that may affect the paint’s adhesion. This step guarantees a clean and pristine surface for optimal paint application.
Properly preparing your walls for painting is crucial in achieving a beautiful and long-lasting finish for your home. You can confidently embark on your painting project by following this comprehensive step-by-step guide and hiring expert house painters in Milford, CT, such as Milford Professional House Painters. Their expertise and attention to detail will ensure that your walls are meticulously prepared, leading to a remarkable transformation in your home’s appearance. Investing time in wall preparation enhances the overall aesthetics and guarantees that your paint job will withstand the test of time. So, armed with knowledge, the right tools, and professional assistance, take the first step towards a stunning home by contacting Milford Professional House Painters today for a consultation and a quote.